
Basic Blocks: How To Make Half-Square Triangles
Hi friends, welcome to the fifth post in my Learn to Quilt blog series. The goal of this series is to help first-time quilters navigate their way through the learning curve. The first four posts in this series were about what quilting is, the materials needed to quilt, and how to start quilting. This and the next few posts will cover various “Basic Blocks” that are most commonly used in quilt patterns. This article covers Half-Square Triangles (aka HSTs).
Beginners, let me know what you think. Did I cover all your questions? Is there more you need to know? Experienced quilters, what was the most confusing part about quilting when you started? Let me know in the comments!

Half-Square Triangles (HSTs)
Half-square triangle blocks, or HSTs, are versatile and simple quilting blocks that will open up a world of possibilities for your quilting projects.
In this article, we will explore the half-square triangle quilt block, how to construct it, and how you can use it in a quilt design. You’ll learn how to determine the finished size of the quilt blocks, the different ways to construct them, and helpful tips for planning quilt layouts with half-square triangle blocks.
There are many different ways to make HSTs. You can construct four-at-a-time, eight-at-a-time, or even 32-at-a-time which is really handy when you need a lot. This post focuses on making two-at-a-time, which is a great place for beginners to start.

Materials and Tools
To make HSTs, you will need the right materials and tools. Below is a detailed list that explains what materials and tools you need and what they are used for.
Fabric: you'll need two contrasting colors or patterns of fabric
Hera Marker or Butter Knife or Fabric Pencil: to mark lines for stitching or cutting
Pins: to hold the fabric pieces together before and during sewing
Sewing Machine or Needle: to sew the fabric pieces together
Thread: choose a color that matches or complements your fabric
Iron: to press the fabric and seams, which aids in accurate piecing
Rotary Cutter: essential for making accurate and clean cuts on your fabric
Cutting Mat: to protect your work surface when using the rotary cutter
Quilting Ruler: to measure, cut, and trim exact squares of fabric

Cutting the Fabric
To make half-square triangle blocks, you'll need two squares of fabric of the exact same size. Accuracy during cutting really goes a long way. Follow these steps:
Select and Prepare Fabrics
Choose two contrasting fabrics to create your half-square triangles. Ensure that they are pressed, wrinkle-free, and each has one straight edge to start cutting from.
Cut Strips
Using a ruler and rotary cutter, measure and cut uniform strips from each fabric. The width of these strips should be the finished size of your half-square triangle plus one inch. For instance, if you want your finished block to be 3 inches, cut your strips 4 inches wide.
Cut Squares
From these strips, use a ruler and rotary cutter to measure and cut out squares. Ensure they are all consistent in size.
Mark Diagonal Lines
On the wrong side of one fabric's squares, draw a diagonal line from one corner to the opposite. The drawn line will act as a guide when sewing the squares together.
Pair and Pin Squares
With the right sides together, pair a marked square with an unmarked one. Pin them together to prevent movement during sewing.
Sewing the Blocks
Now, it's time to sew. With your sewing machine (or by hand), sew a quarter-inch seam on each side of the line you have drawn.
Cutting the Blocks
Once done, using a rotary cutter, cut the square in half by slicing along the line you drew earlier. This will essentially give you two triangle pieces, each made up of two different kinds of fabric.
Pressing the Blocks
Finally, press the HSTs open with an iron to keep them flat for easier manipulation of the fabric. Press the seams open for less bulk or press the seams to the side for locking seams and matching intersections.
Trimming the Blocks
Now that your HSTs are stitched and pressed, it’s time to trim them. Trim the blocks to be the finished size of your half-square triangle plus half an inch. For instance, if you want your finished block to be 3 inches, trim your HSTs to be 3 and a half inches square.
Trimming half-square triangle blocks is a necessary process for any quilting project. It is to ensure they all have uniform sizes, making it easier to piece them together accurately. Follow these steps:
Align Your Ruler
When you're ready to trim, align the diagonal line of your ruler with the seam of the block. This will help ensure you get a straight cut along the edges.
Trim the First Two Sides
Use your rotary cutter to trim along the two edges of the block that are lined up with the ruler.
Rotate and Repeat
Turn your block around 180 degrees and align the ruler once again, this time using the trimmed edges to guide your alignment. Trim the remaining two sides. By now, your block should have perfectly square edges.
Remember!
Practice makes perfect. As you continue to trim your half-square triangle blocks, you'll find that the process becomes easier and quicker. Don't rush, take your time to ensure accuracy and precision in each cut, and you'll have beautifully trimmed blocks ready for your next quilting project.
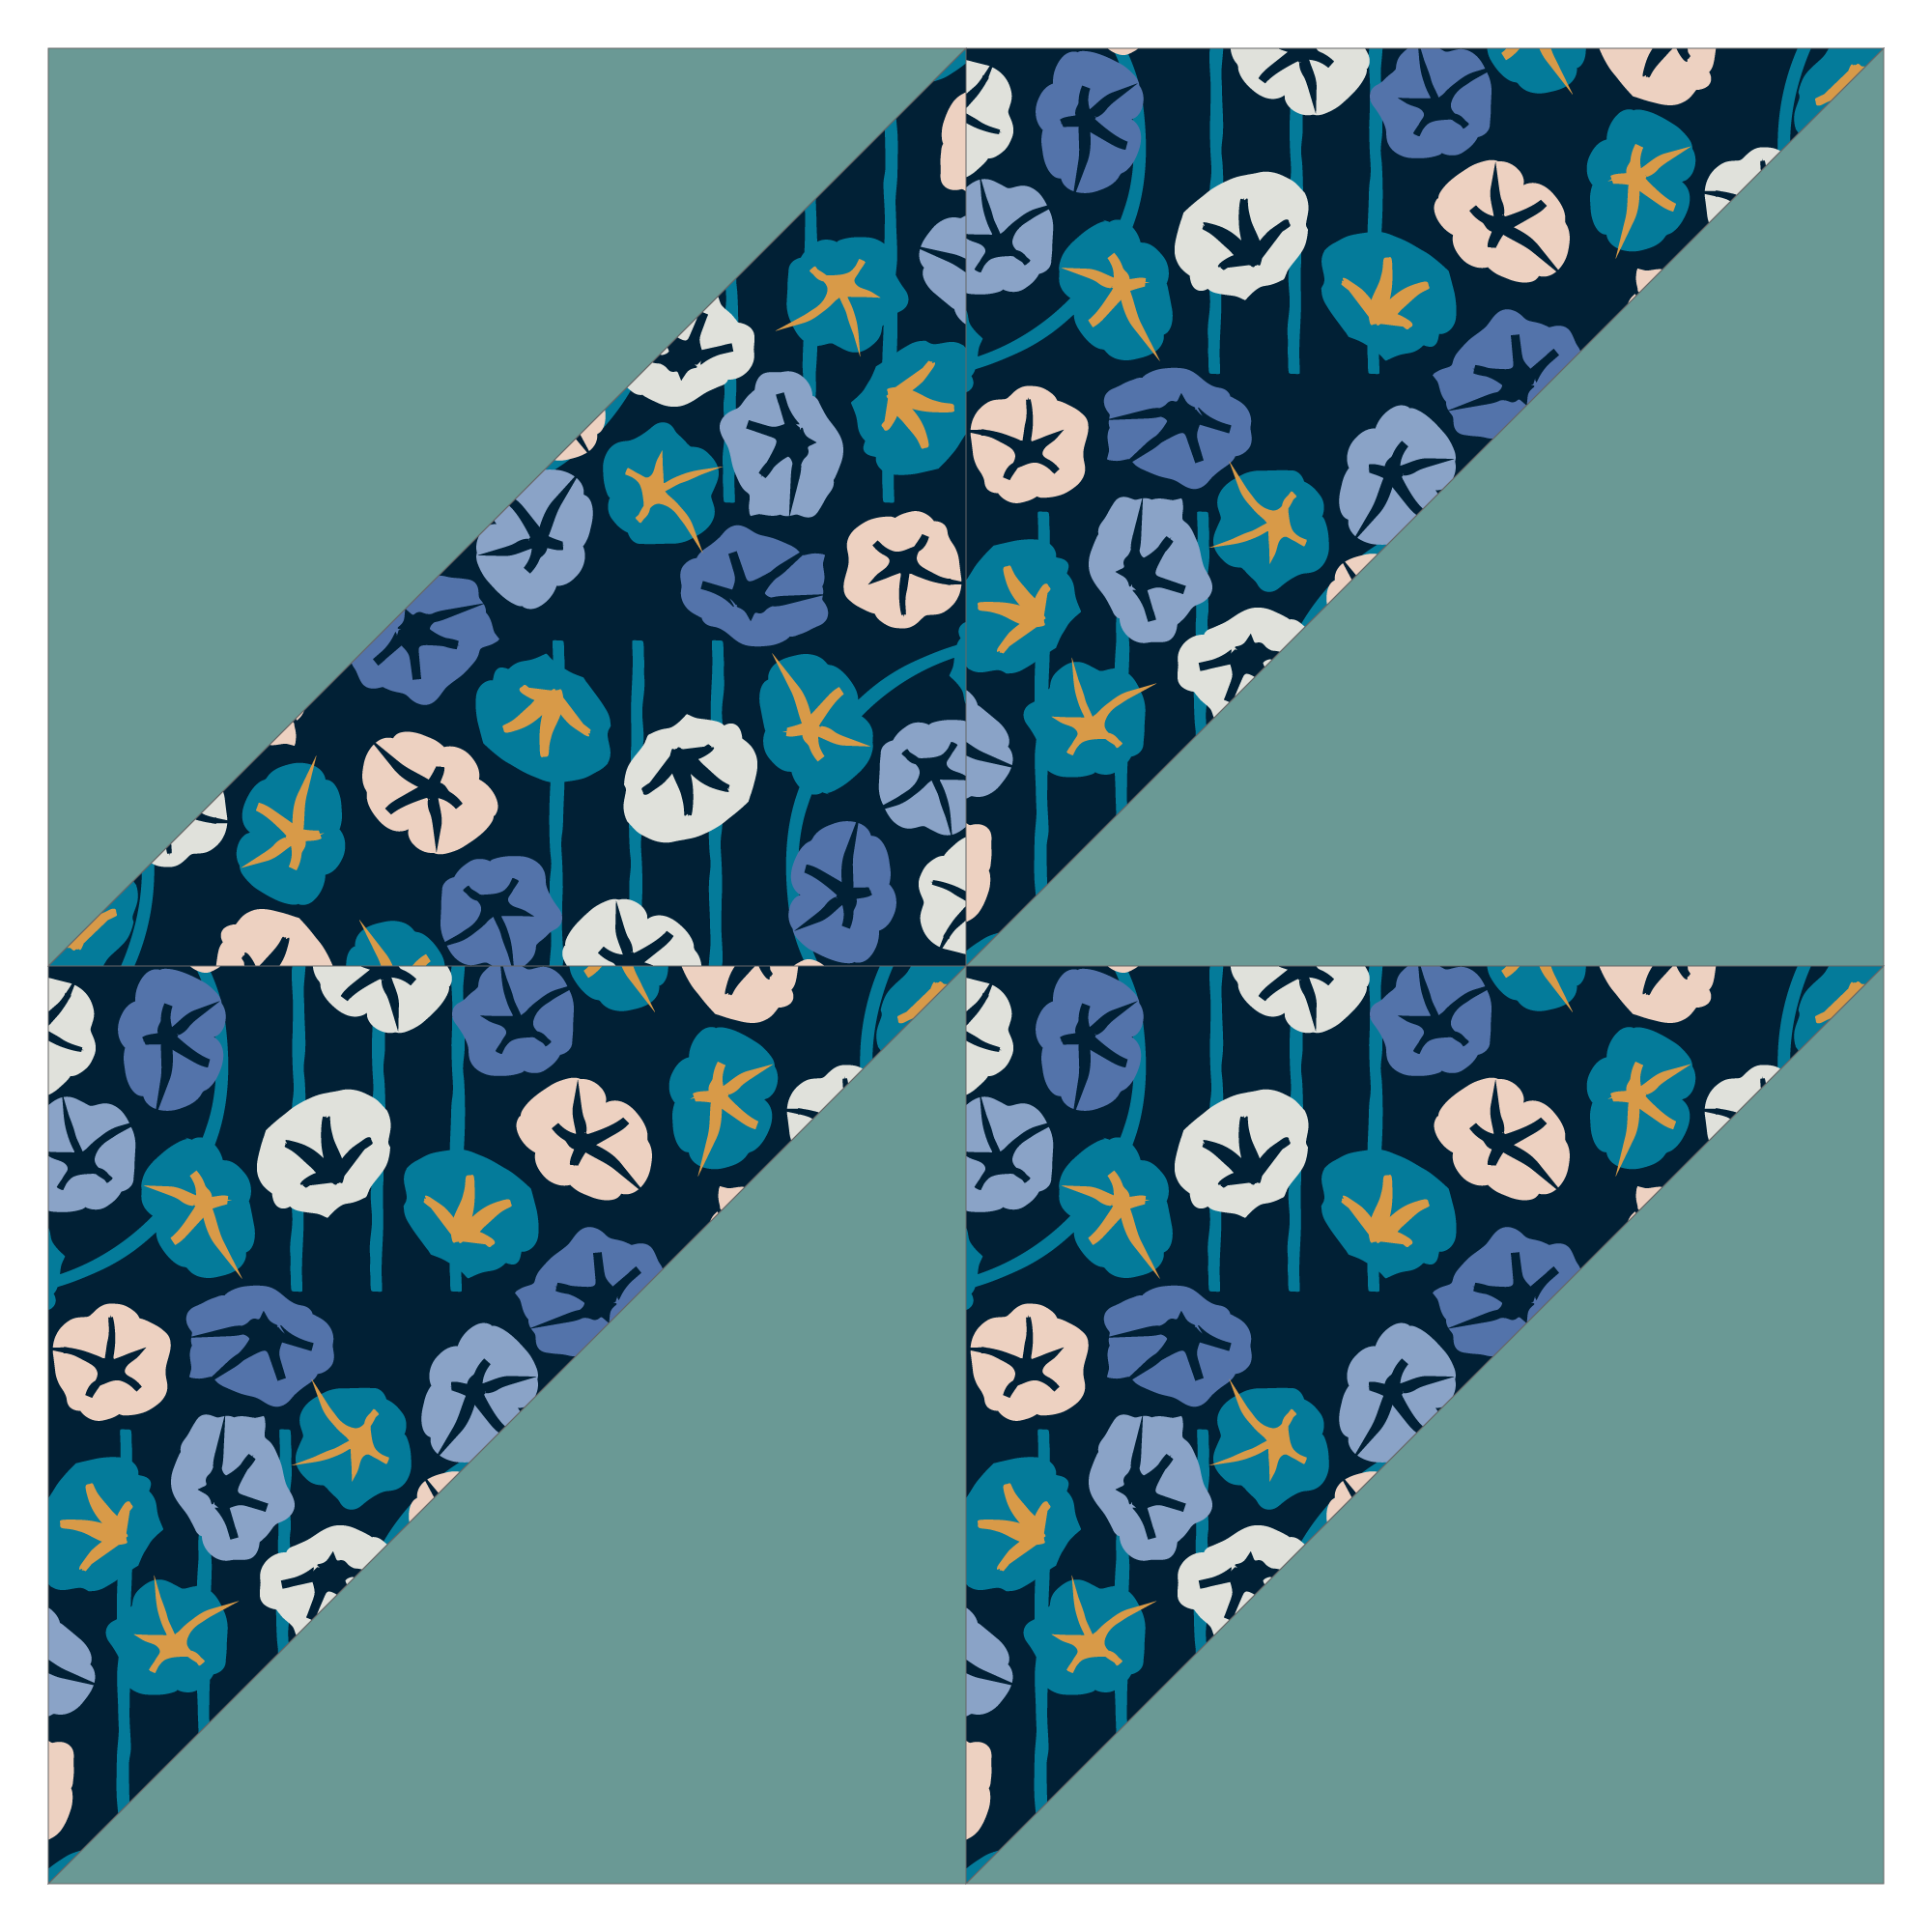
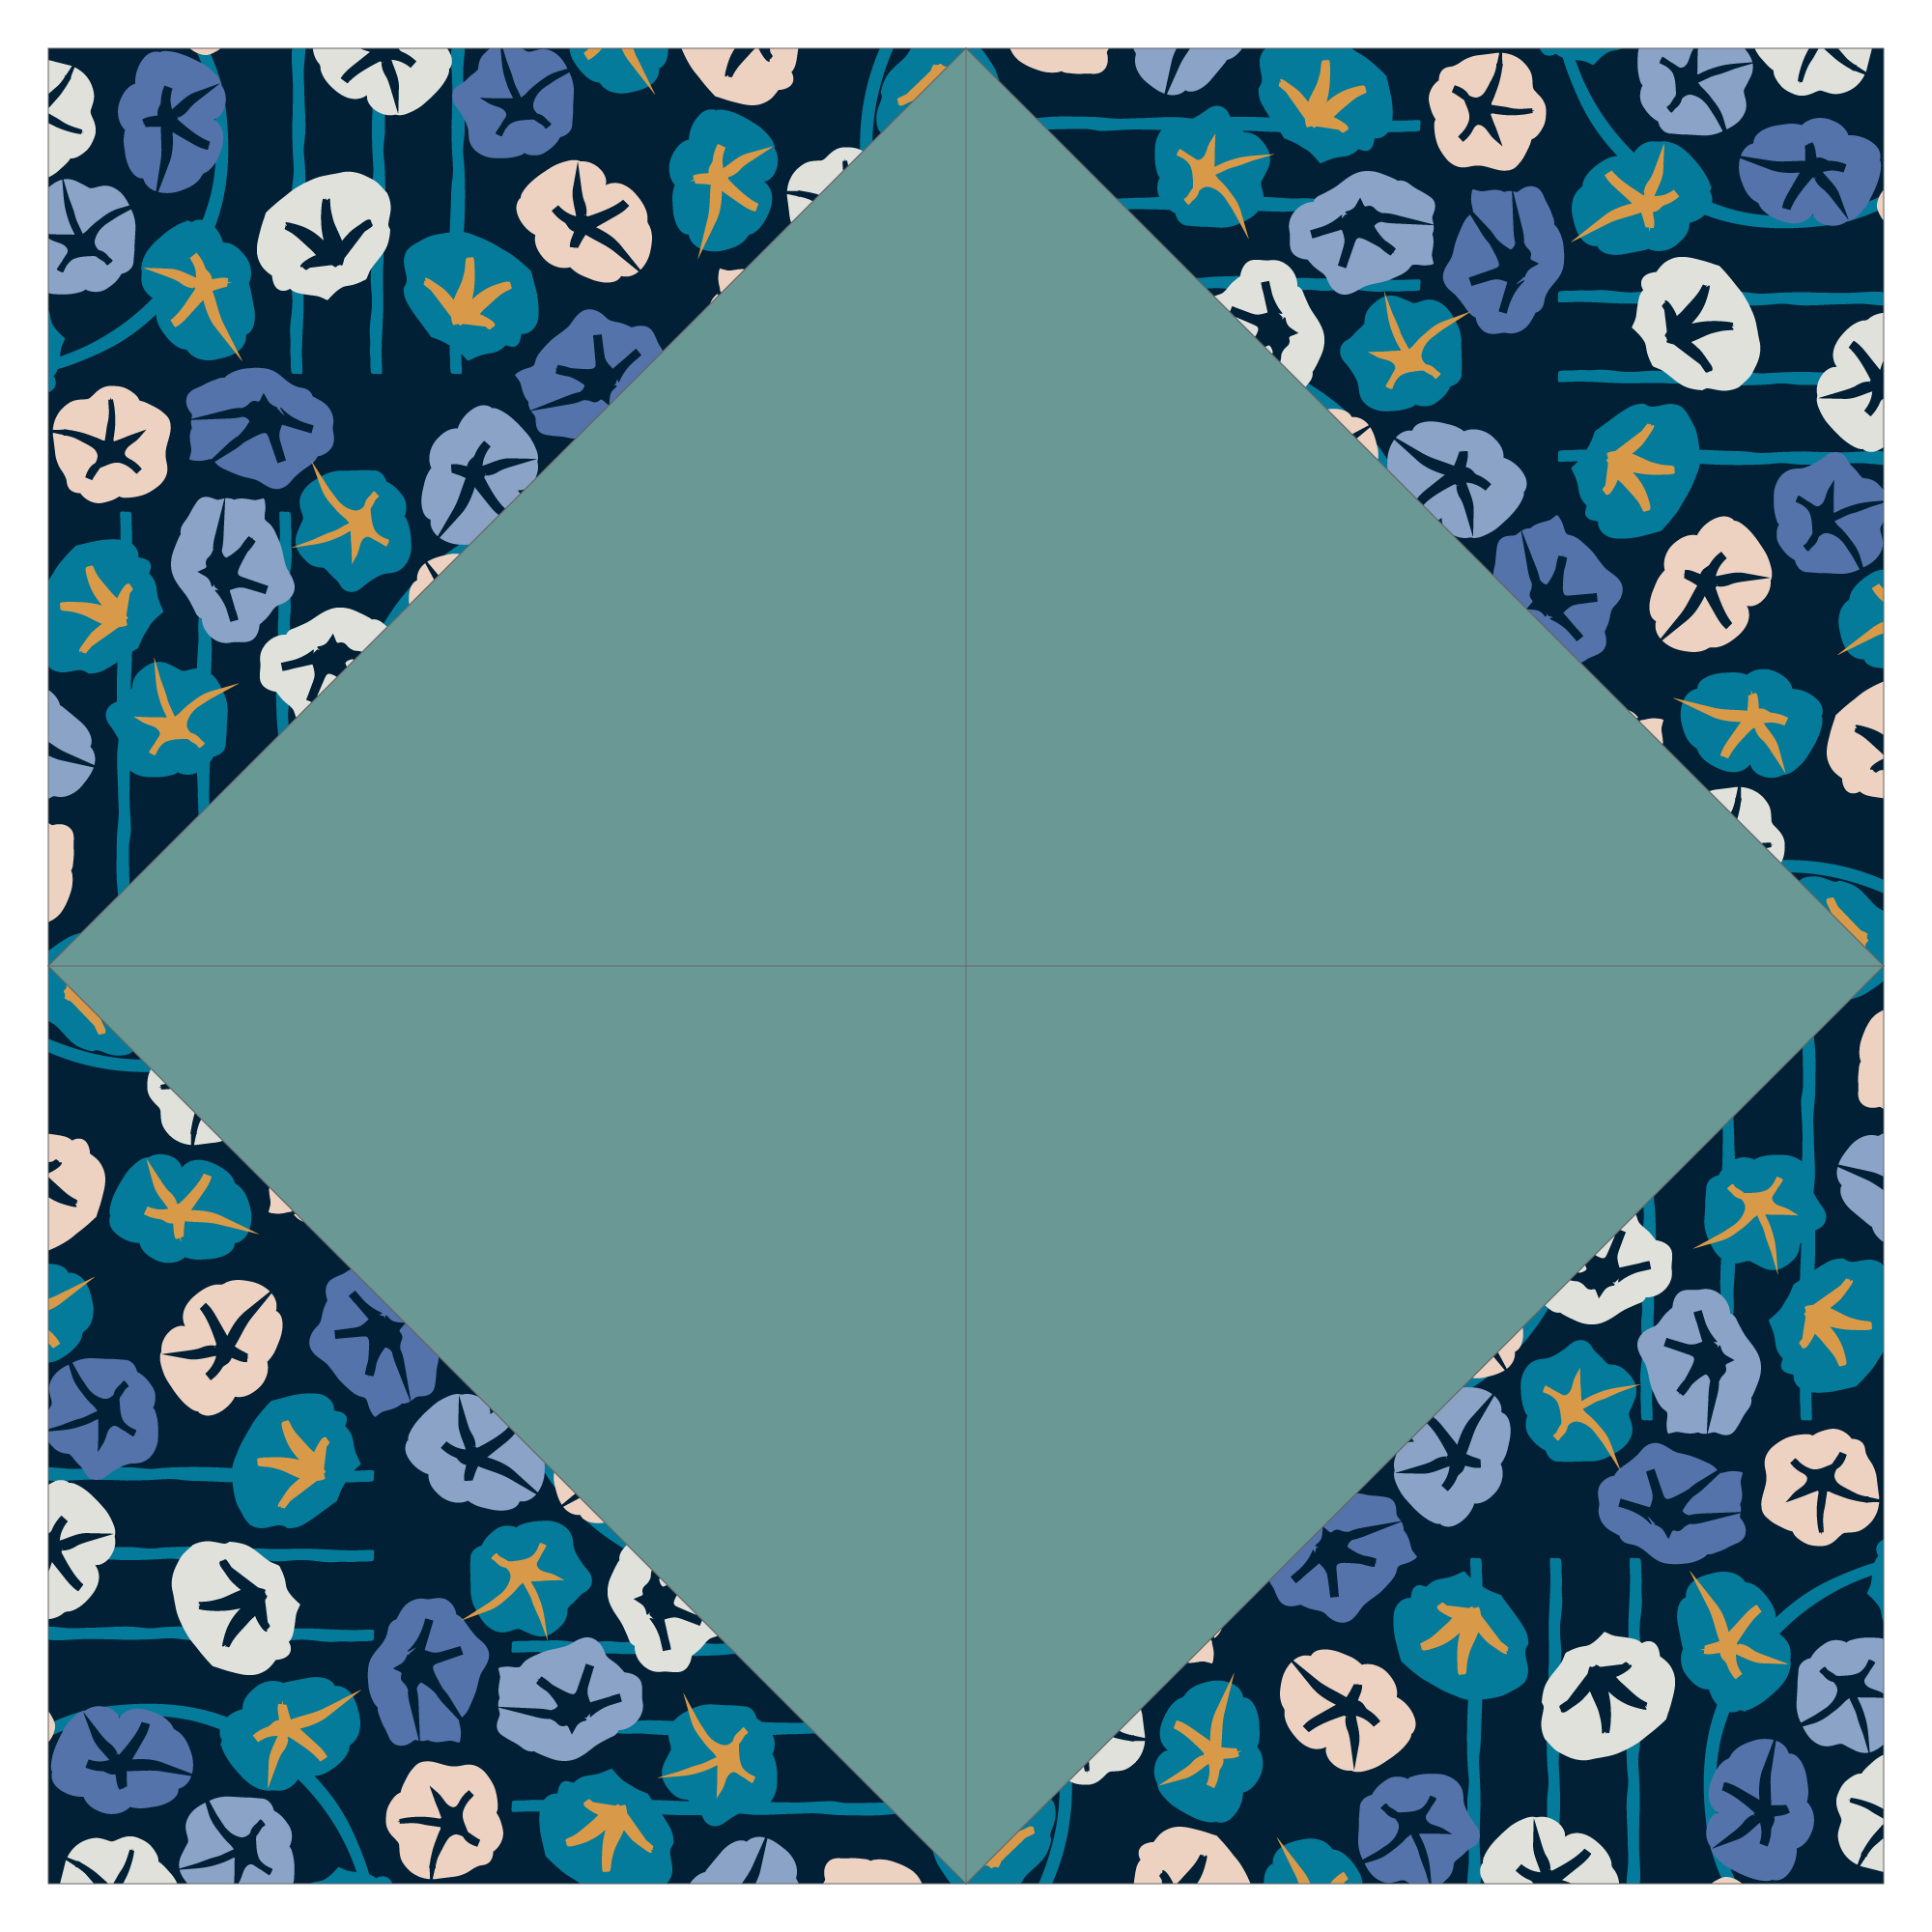
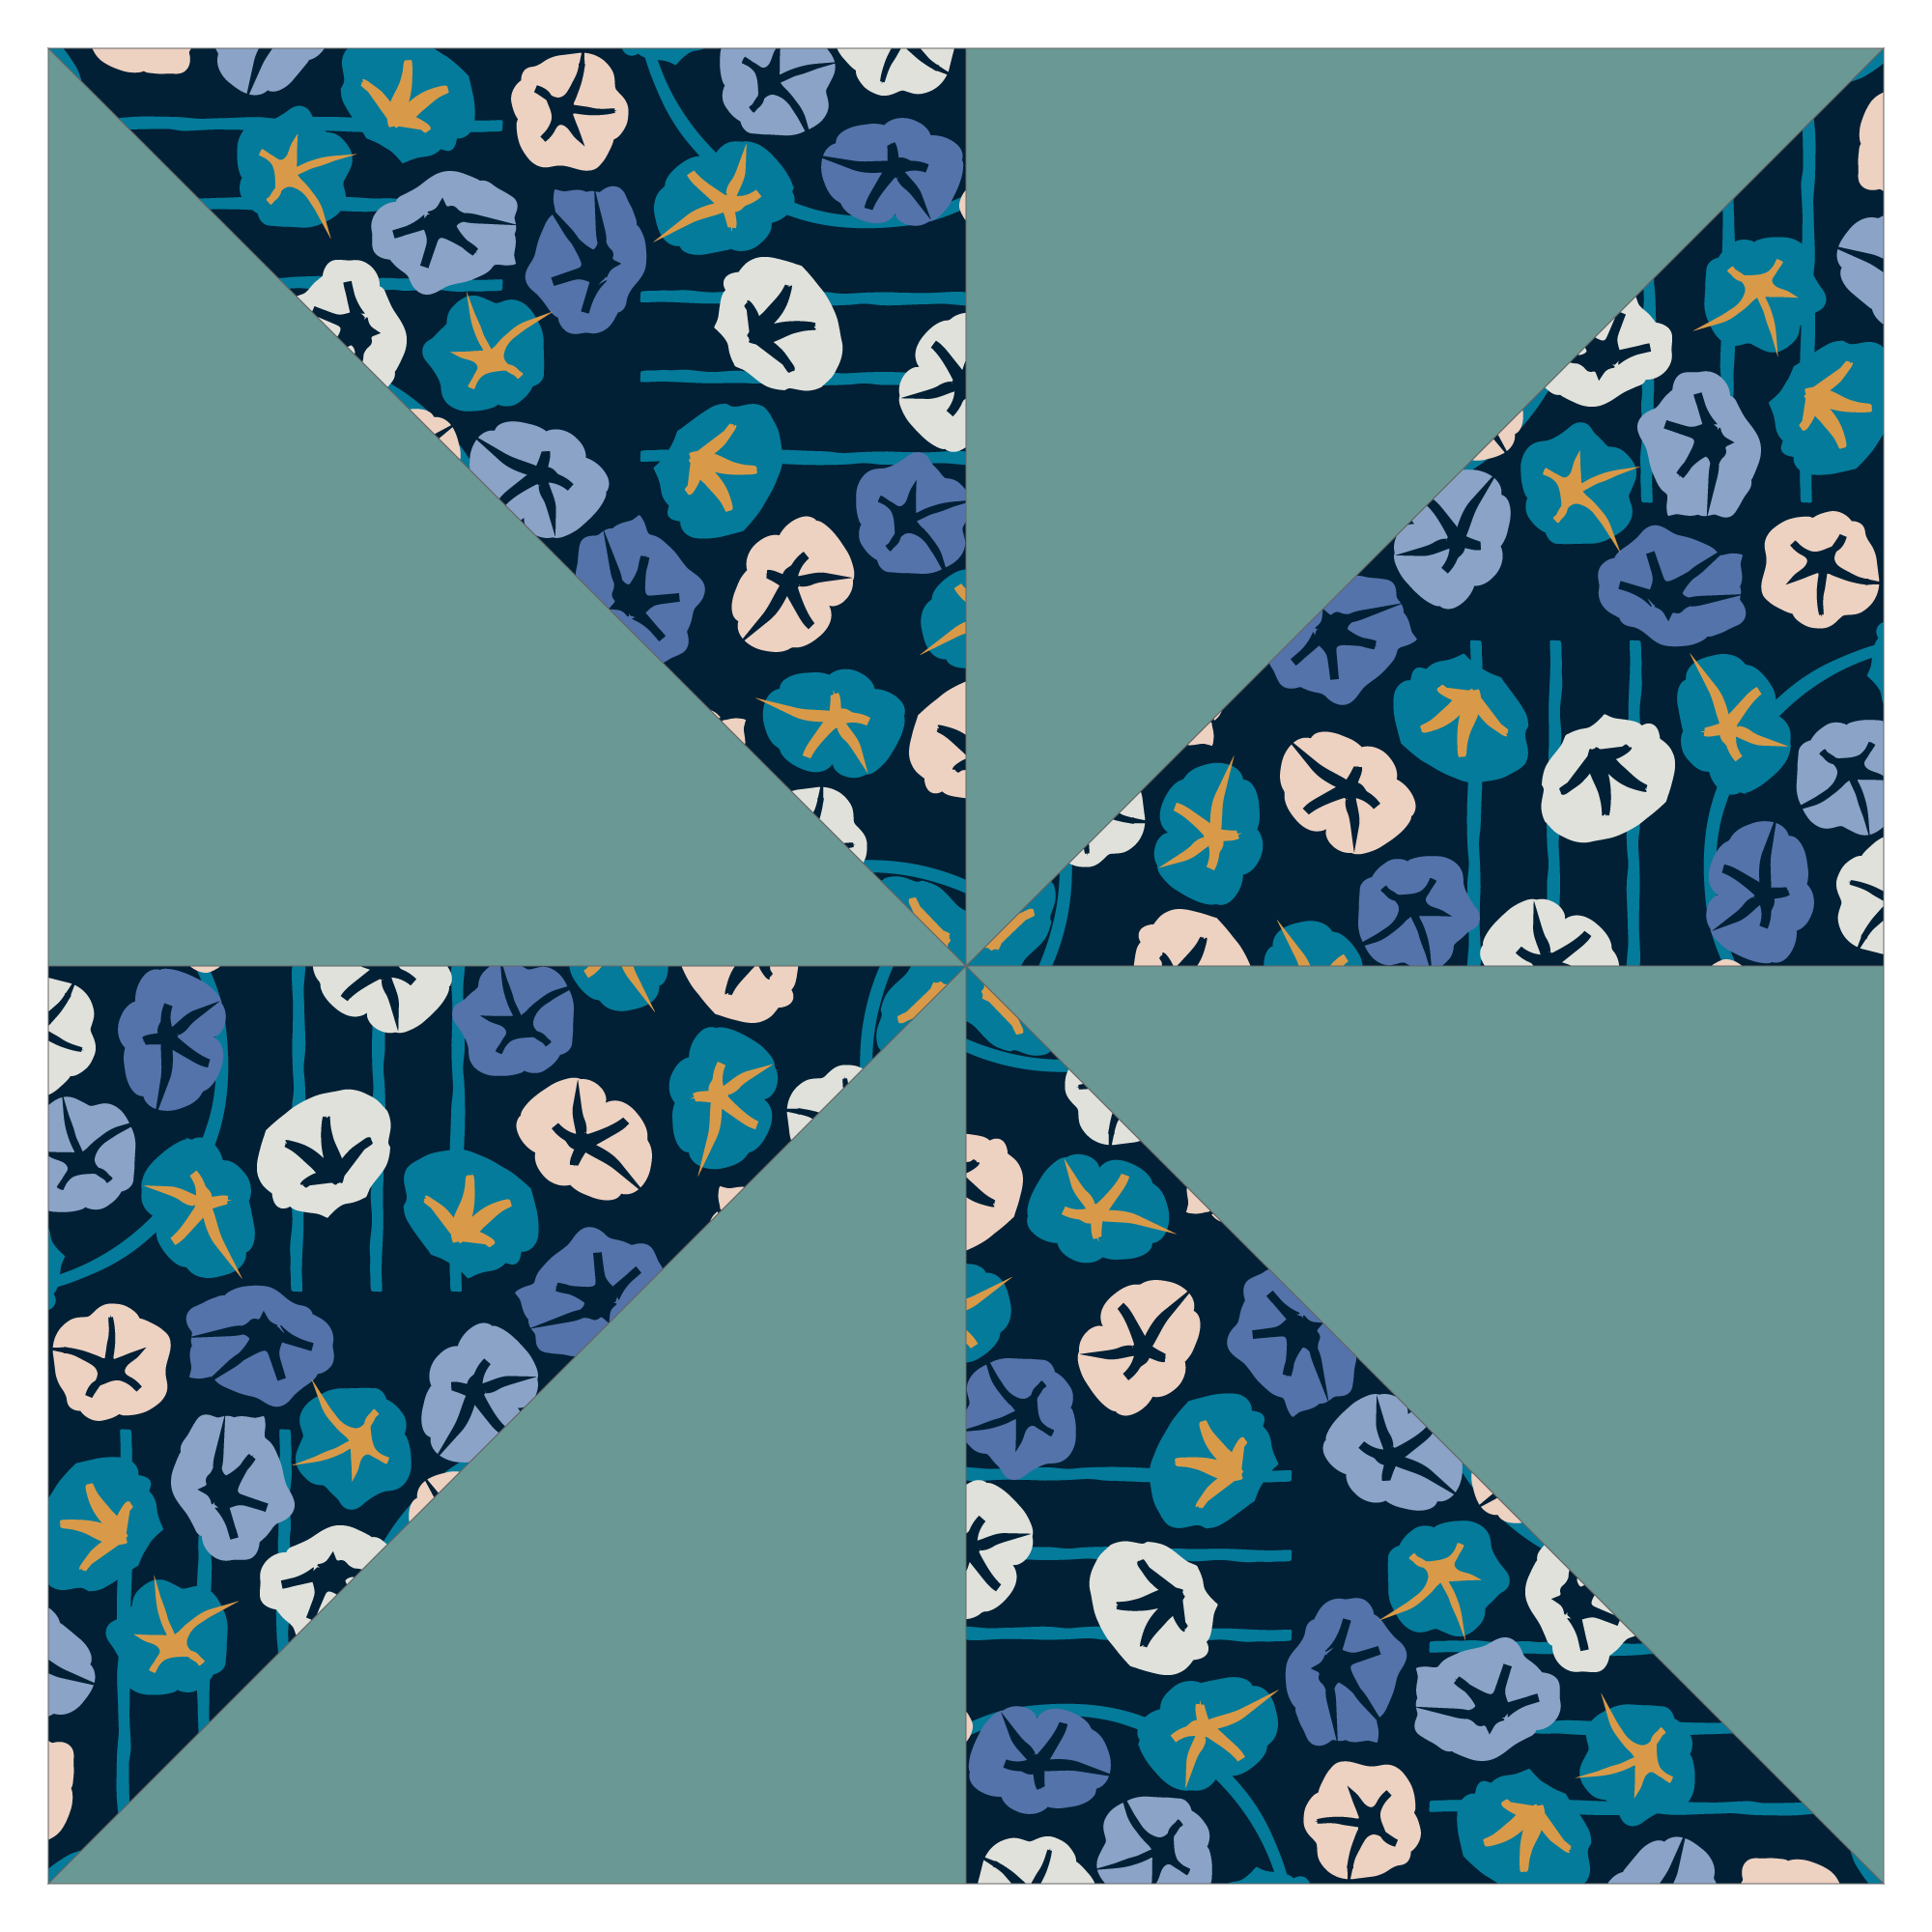
How to Use Half-Square Triangles
HSTs can be used to create many different layouts depending on how you turn them and relate them to each other. They can also be used on many different scales for varying effects.
Below are some layout ideas for you to jump off of. Try making a bunch of HSTs, play around with the layout, and see what you come up with!


Half-Square Triangle Quilt Patterns
Half-square triangle blocks are incredibly versatile. From small details to large quilts, they will open up a world of possibilities for your next quilting project. If you want to practice, check out some of my mini quilt patterns that include HSTs.


