
How to Finish a Wall Hanging
Time to Show off Your Mini Quilt
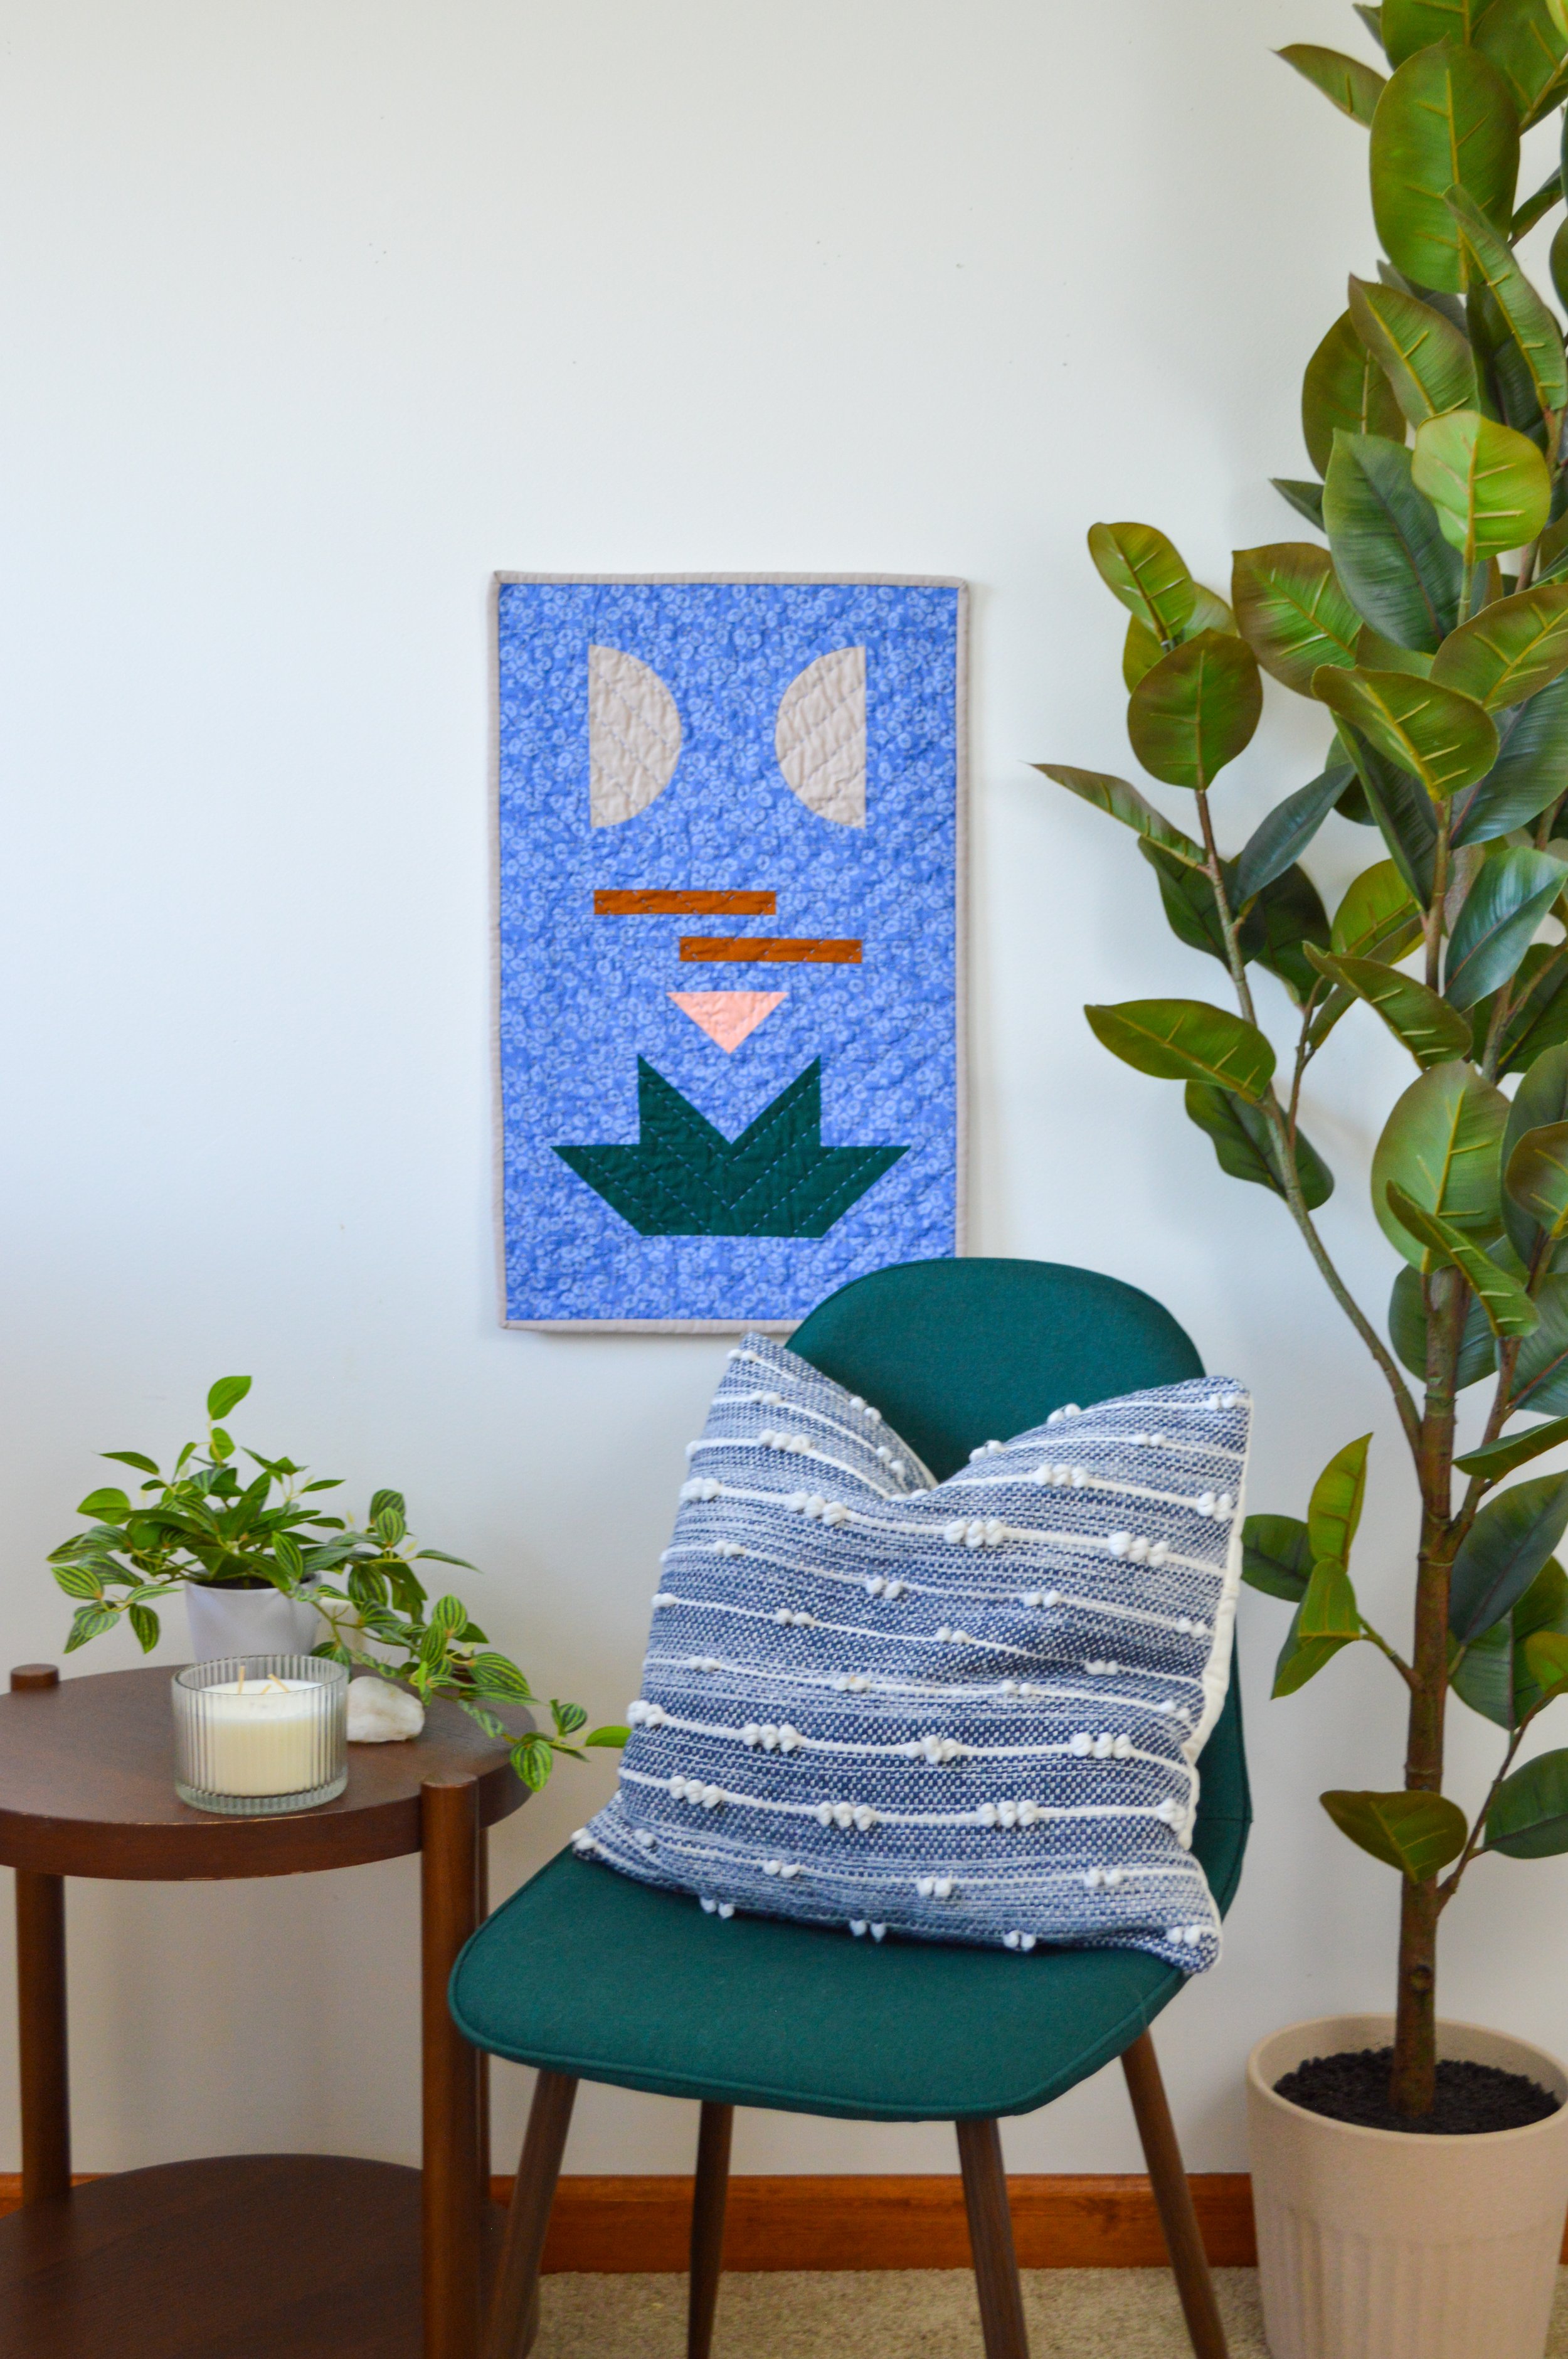
You’ve created a beautiful quilt top that’s the perfect size to hang on your wall. It’s been basted and quilted with care and you’re so close to the finish line. All you need to do is bind it up and it will be ready for display. But wait! How will you hang it?
Don’t worry I’ve got you covered. Follow the steps below to turn any mini quilt into a wall hanging. This short wall-hanging tutorial is so simple you’ll want to add corner pockets to all your quilts!
Before You Attach the Binding
Before you add that binding follow this easy step-by-step guide to add corner pockets to your quilt for easy hanging. Once you have the pockets in place, and the quilt finished, slip a wooden dowel into the pockets to hang on a nail, or use some thumbtacks in the pockets.
Step 1: Cut Two Squares of Fabric
I recommend cutting two 5” squares but depending on the size of your mini quilt you may want to go bigger or smaller. As displayed in Figure A make sure they are actually square, the same length on all sides.
This is a great opportunity to use up some scraps! Also, these will end up on the back of your quilt, thus not seen very often, so don’t be afraid to use a lesser-loved, or uncharacteristically loud print.

Step 2: Fold the Fabric Squares in Half
Fold each square of fabric in half, diagonally, with the wrong sides together. Make sure the pretty (or weird) print, AKA the right side, is on the outside then press to create two triangle pockets as shown in Figure B.

Step 3: Pin The Pockets to Your Mini Quilt
Line up the raw edge corners of the triangle pockets with the upper, corners of the back of your quilt. Make sure to pin or clip them in place as shown in Figure C.

Step 4: Sew the Pockets to Your Mini Quilt
Now it’s time to attach the pockets. Sew the pockets to your mini quilt, with a ¼ inch seam allowance, along the edges and around the corners as shown in Figure D. For extra strength and security don’t forget to backstitch at the beginning and end of each line.

Now It’s Time to Bind!
Now that the pockets are attached you’re good to go! Finish up your mini quilt however you prefer with binding or facing. Then hang it up!


Dream it
〰️
Quilt it
〰️
Dream it 〰️ Quilt it 〰️

Free Hand Quilting Course
Learn the basics of hand quilting at your own pace, on your own time.
This course gives you the freedom to pull on the thread of your creativity or find peace in the structure of the known. Tap into a creative and de-stressing outlet and carve out time to work on yourself. With mindfulness as a foundation, you’ll make space for a creatively therapeutic practice that supports you in processing the emotions of an often too-heavy and too-busy world.


