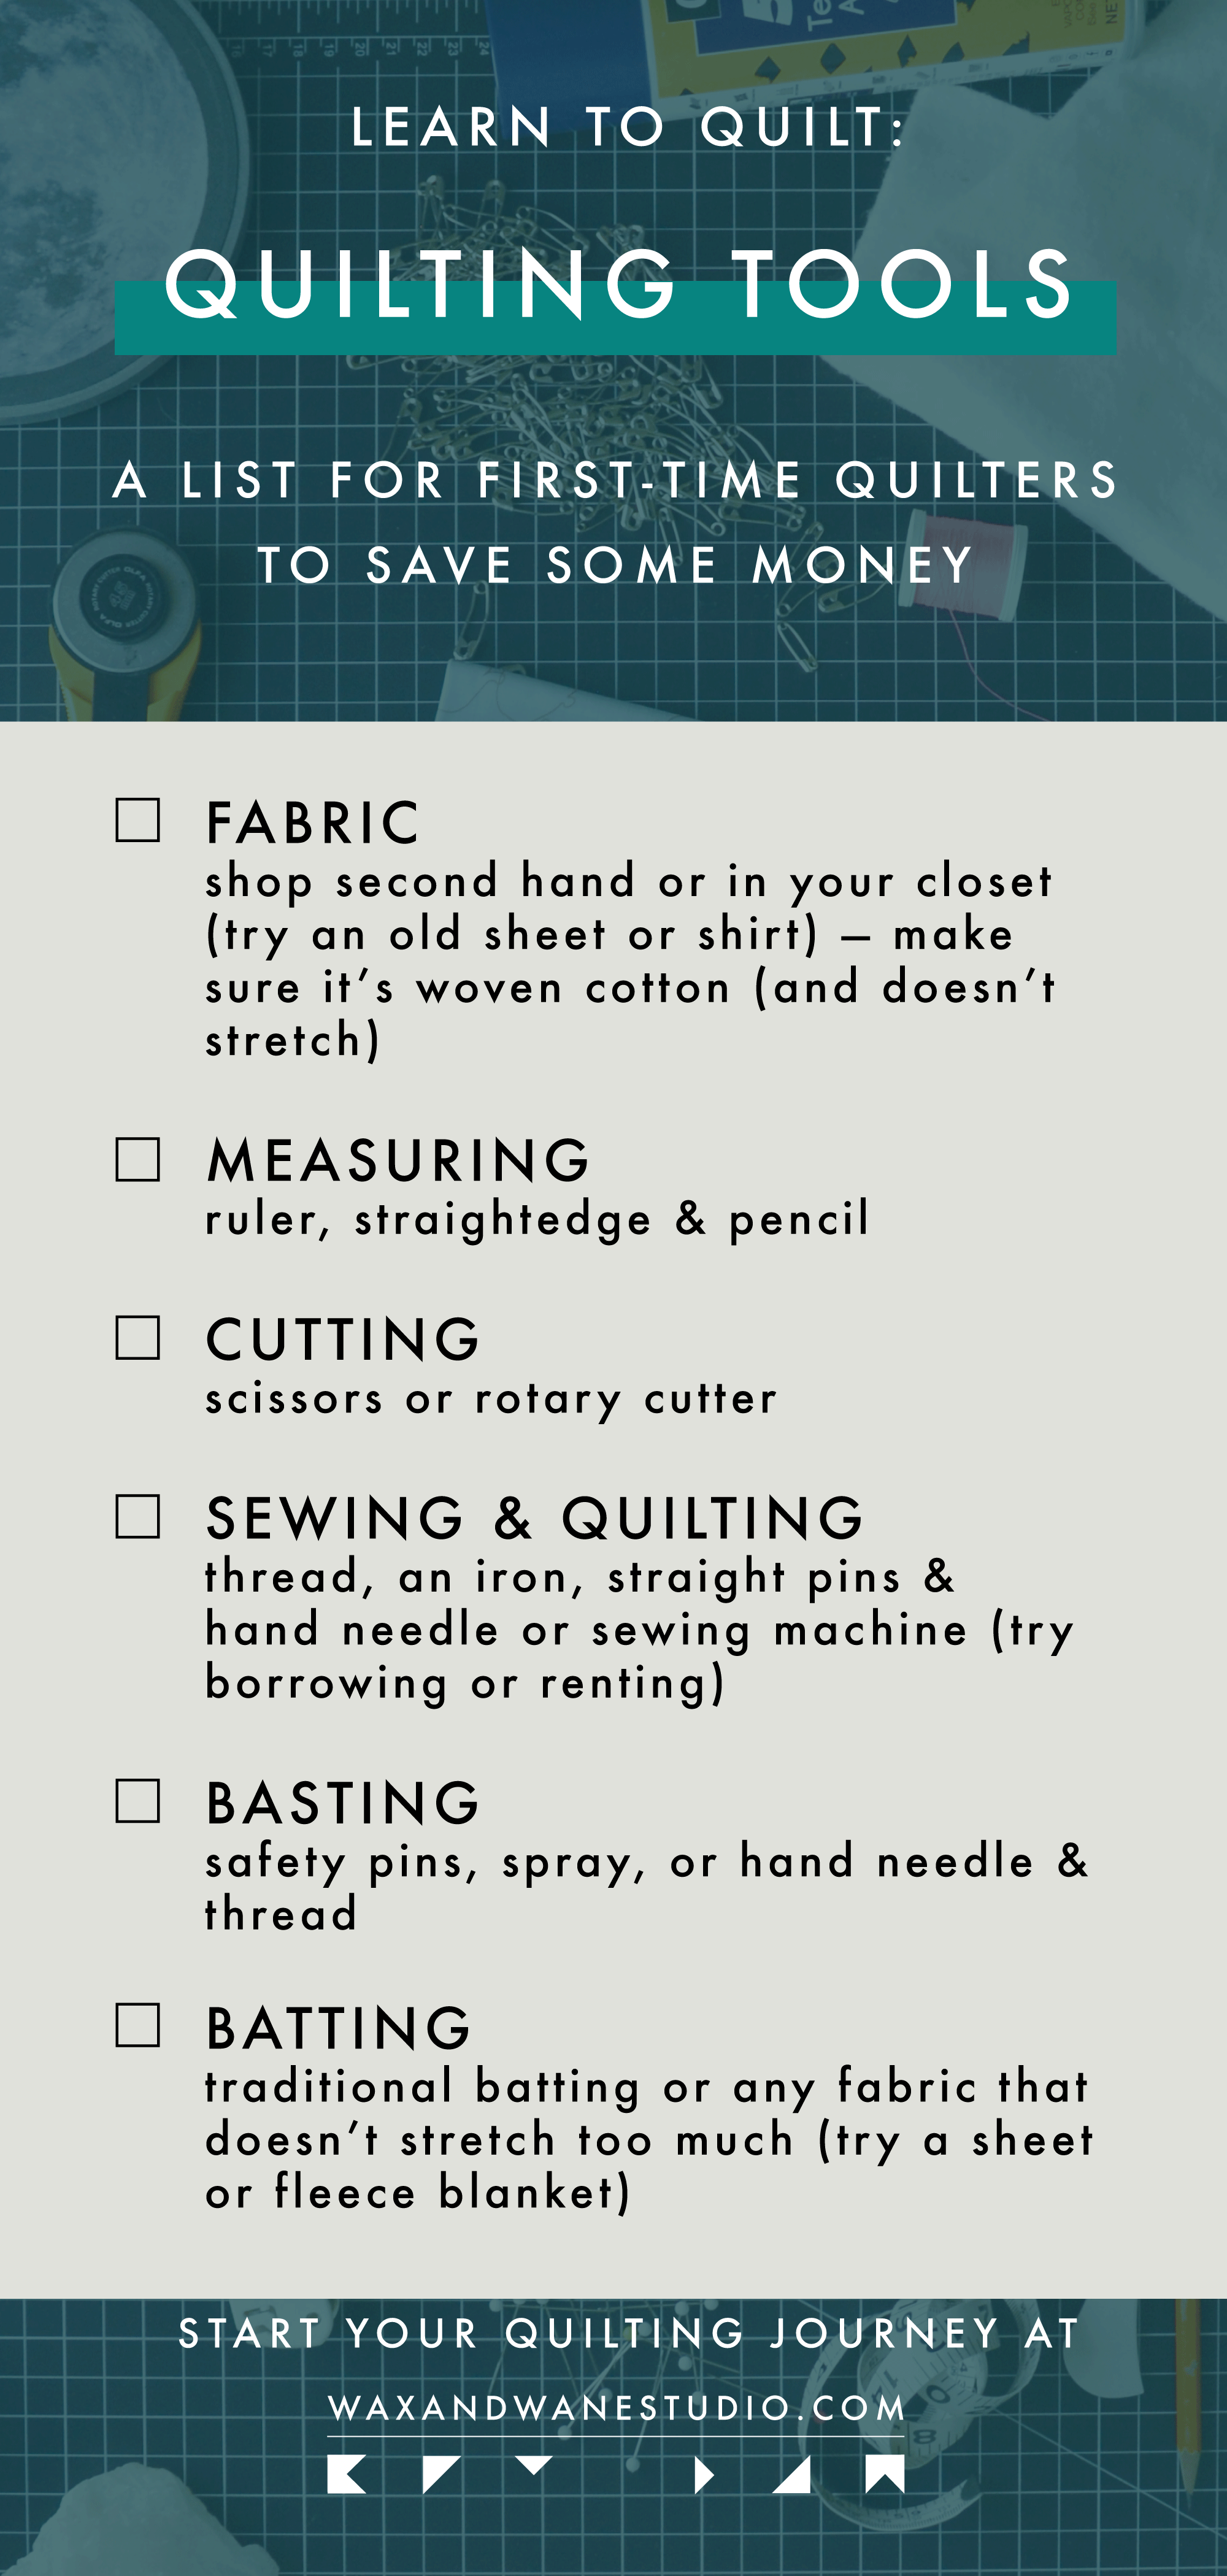
What You Need to Start Quilting
Hi friends, welcome to the first post in my Learn to Quilt blog series. The goal of this series is to help first-time quilters navigate their way through the learning curve. I’m starting at the beginning and covering everything you need to know about quilting. In this particular post, I’m listing and explaining the tools you need to make a quilt. I’ll continue this series with more in-depth information about quilting terminology and the quilt-making process itself in other posts. If you’re new to quilting, grab a seat and a beverage. If you’re a seasoned quilter let me know your favorite quilting notions in the comments!
Quilting Tools & Materials
Quilting is one of those hobbies, like most crafts, that can be a little overwhelming at first because of all the tools involved. It can also be expensive. I find that frustrating because quilting is such a calming, therapeutic craft and I think it should be accessible to everyone. My goal with this post is to help you take the plunge into quilting without spending a fortune or ending up in a headspin. Of course, there are lots of tools and materials (that I won’t list in this post) that make quilting easier, but they don’t necessarily make quilting better. The reality is craft tools and materials cost money, but there are alternatives to most, if not all, the standard quilting supplies that will cost you little to nothing if you’re willing to get resourceful. I’ve broken this post down into sections based on the major steps of the quilt-making process: picking fabric, measuring, cutting, sewing, basting, and quilting. Binding is the final step of making a quilt but the tools needed for binding are already covered in the other sections. If you’ve never quilted before and you just want to try without making a huge monetary commitment then all you need is the basics and that’s what I’m going to list here.

Fabric
Arguably, the most important (and most fun) component of a quilt is the fabric. Quilting Cotton, a fabric made specifically for quilting, is usually 100% cotton. And while you don’t have to use 100% cotton fabric to quilt, it is a good idea to try to stick with woven cotton fabric (as opposed to knit fabric which will be a bit stretchy) for your first quilting project. Fabric is also arguably the most expensive part of quilting. There are just SO MANY amazing fabrics out there and it’s hard to not need all of them at once. Fabric is one area where sometimes it’s better to splurge because better quality fabric will make a better quality quilt. However, there are ways that you can either save some money or make sure your money goes towards values that align with your own.
Shop Second Hand
Before you get lost in a rabbit hole of window shopping gorgeous quilting fabric check in with some friends or family. If you know someone who quilts, chances are they have some fabric in their stash that they probably won’t use. Ask if they’re willing to part with it or sell it to you at a discounted price. My quilting besties and I trade and buy fabric off of each other quite regularly. Alternatively, if you don’t know any quilters check out FeelGood Fibers. This is a marketplace for sewists to buy and sell second hand (aka pre-loved) fabric to save some money and also lessen the impact we have on the planet.
Shop Local
While everyone has their favorite fabric shops, companies, and designers I encourage you to first look locally. Do a quick search to see if there are any independent quilting and/or fabric shops around you and if their values align with yours. They may not have the most modern or trendy selection but you’ll at least get to see the fabric in person, touch it, and maybe form a connection with it. Local shops are typically a couple of dollars more expensive than big box stores but in the end, those couple of dollars are most likely going towards something more important.
Shop Small
If there are no brick and mortar shops near you check social media or Etsy. I know for certain there are a handful of fantastic shops on Instagram that have great selections and often run sales or have special discounts for subscribers. Just like shopping local, when you shop with a small online business you know the money you are spending is going towards an individual or a family.
Don’t Shop
Want to spend exactly zero dollars on fabric for your first quilting project? Check your closets! Do you have an old or unused sheet/pillowcase/shirt/dress that you’re willing to cut up? Make it a quilt! As I mentioned before if you can make sure that it’s mostly cotton, and doesn’t stretch then you should be good to go. Also, I recommend staying away from linen blends because they can fray and may end up a bit cumbersome for a first-time quilter. Otherwise, get creative and reuse what you already have.

Measuring Tools
A big (but not the most important) part of quilting is precision. In order to make intersections look clean and crisp, you need to start with straight and square pieces of fabric. A measuring tool and a straightedge will get you the precision you want. If you find that you enjoy this new hobby you can invest in some quality quilting rulers, but if you’re not ready to spend the cash on a weird tool you may never use again don’t fret. There are other options.
Quilting Ruler
To measure your fabric as accurately and quickly as possible you’ll need a quilting ruler. This is a ruler, usually made of clear plastic, that displays increments in a grid form so that you can measure both the length and width of the piece of fabric while using its sturdy straight edge as a guide for a rotary cutter. They are available in various sizes, shapes, and price ranges. I recommend starting with something that is at least 6½ inches wide and long.
Ruler & Straightedge
If you have a ruler or tape measure lying around and anything that can help you make a straight line between two dots then no need to buy a quilting ruler just yet. The important thing is that you’re able to measure out and mark your fabric to cut it into smaller pieces.
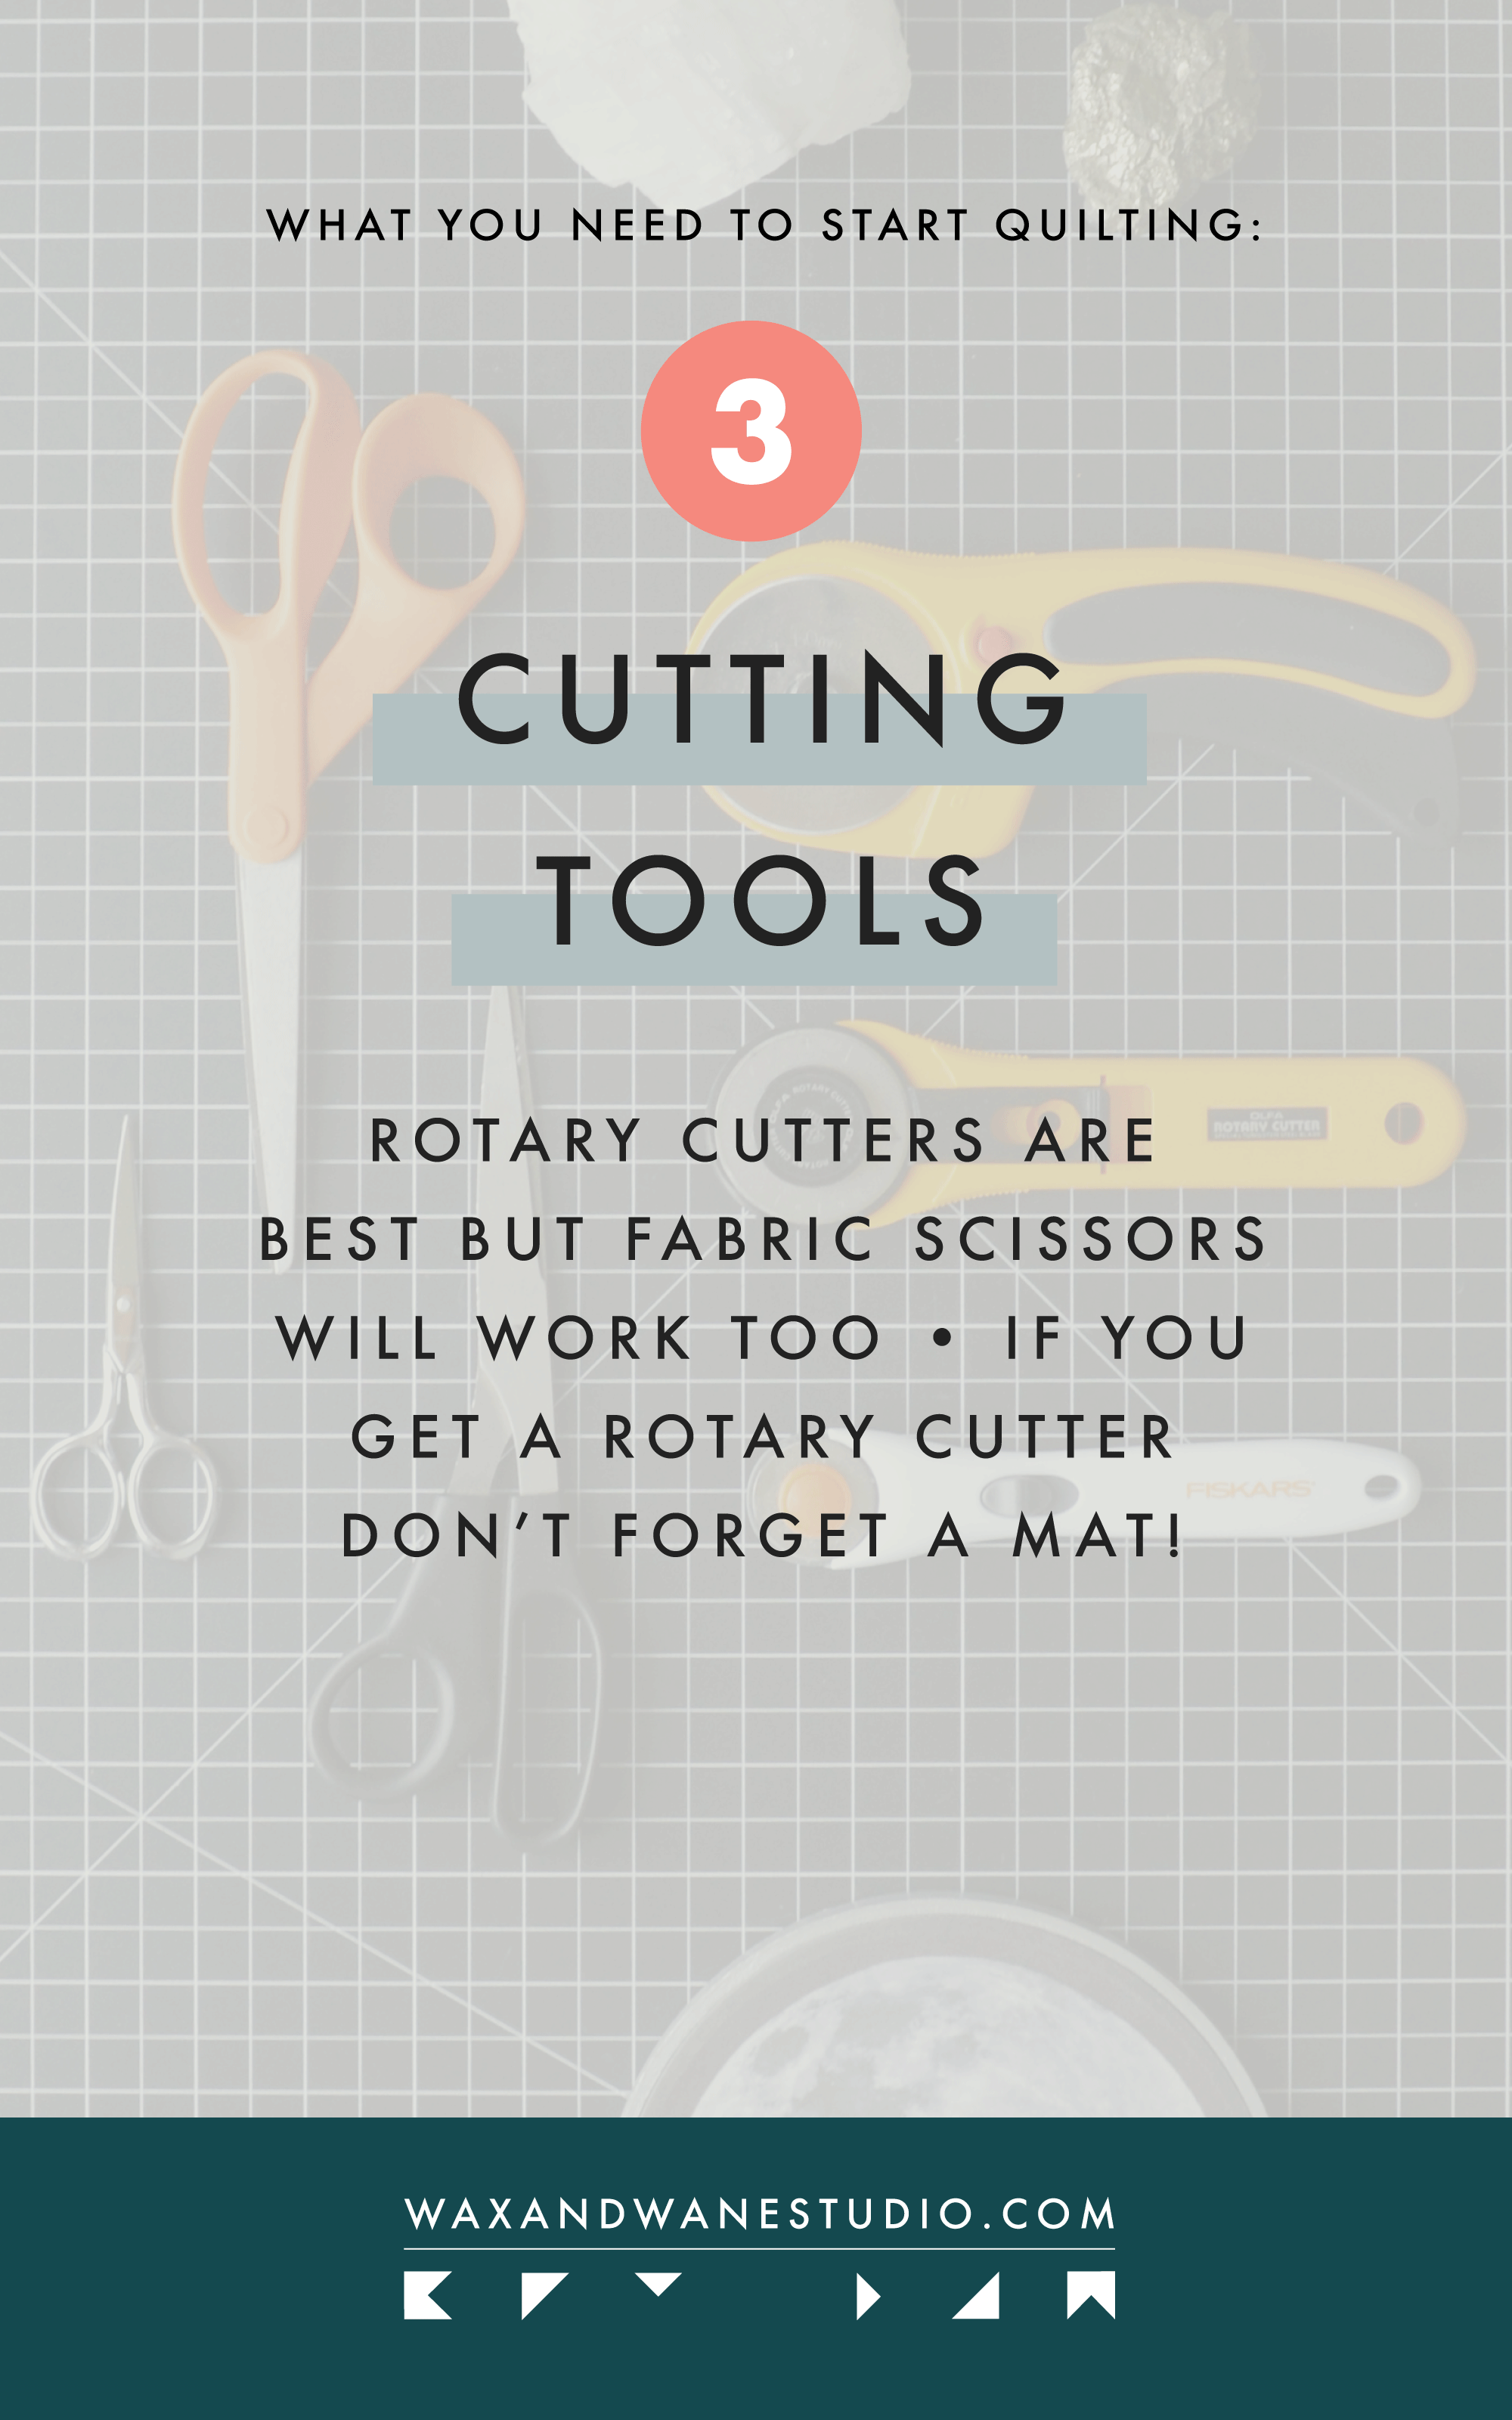
Cutting Tools
Although it would be convenient to save some money and use your kitchen or craft scissors to start your quilting journey this is one area where I recommend spending a little money. Any cutting tools you already have may work, but usually, a sharper tool is needed for cutting fabric. A pair of nice scissors would be great for cutting both fabric and thread but a rotary cutter is the preferred tool for slicing fabric into neat and tidy pieces.
Rotary Cutter & Mat
A rotary cutter helps you cut fabric with accuracy and ease. Paired with a quilting ruler and you have a dream team that can save you a lot of time. Rotary cutters available in a range of sizes and price points but generally, all do the same thing. I recommend starting with a 45mm size blade. Almost all options have a built-in blade cover for safety but some higher-end options come with a retractable blade cover, automatically covering the blade when you’re done cutting, so you can rest easy. If you’re going to invest in a rotary cutter you’ll need to protect the surface you cut on. A cutting mat is the best option for this but some cardboard can work in a pinch. Cutting mats also come in many sizes so choose what’s best for the space you’ll be working in.
Scissors & Marker
If you’re not ready to buy a rotary cutter a pair of fabric scissors will work just fine. And since you won’t be slicing along a straightedge you won’t need a mat but you will need something to mark lines on your fabric to cut along. You could use a fabric pen or pencil, a hera marker, or a good old butter knife.
Fabric pens and pencils, which are probably the most readily available marking tool at your local sewing notions shop, come in various colors and semi-permanence. Some are water-soluble, some come out in the laundry, and some claim to eventually disappear. Fabric pens and pencils are great for making bold, easily seen temporary marks, just be sure to test them on a scrap or inconspicuous area of your fabric to confirm it can be removed.
A hera marker is a small hand tool with a thin, slightly sharp edge that is used to temporarily crease your fabric. It is not sharp enough to cut through fabric, but it is thin enough to make a crisp indent. I prefer this tool because it does not involve putting any kind of ink or pigment on fabric. While I do really love my hera marker, and highly recommend it, using the dull side of a butter knife can give you the same outcome and will most likely cost you nothing.
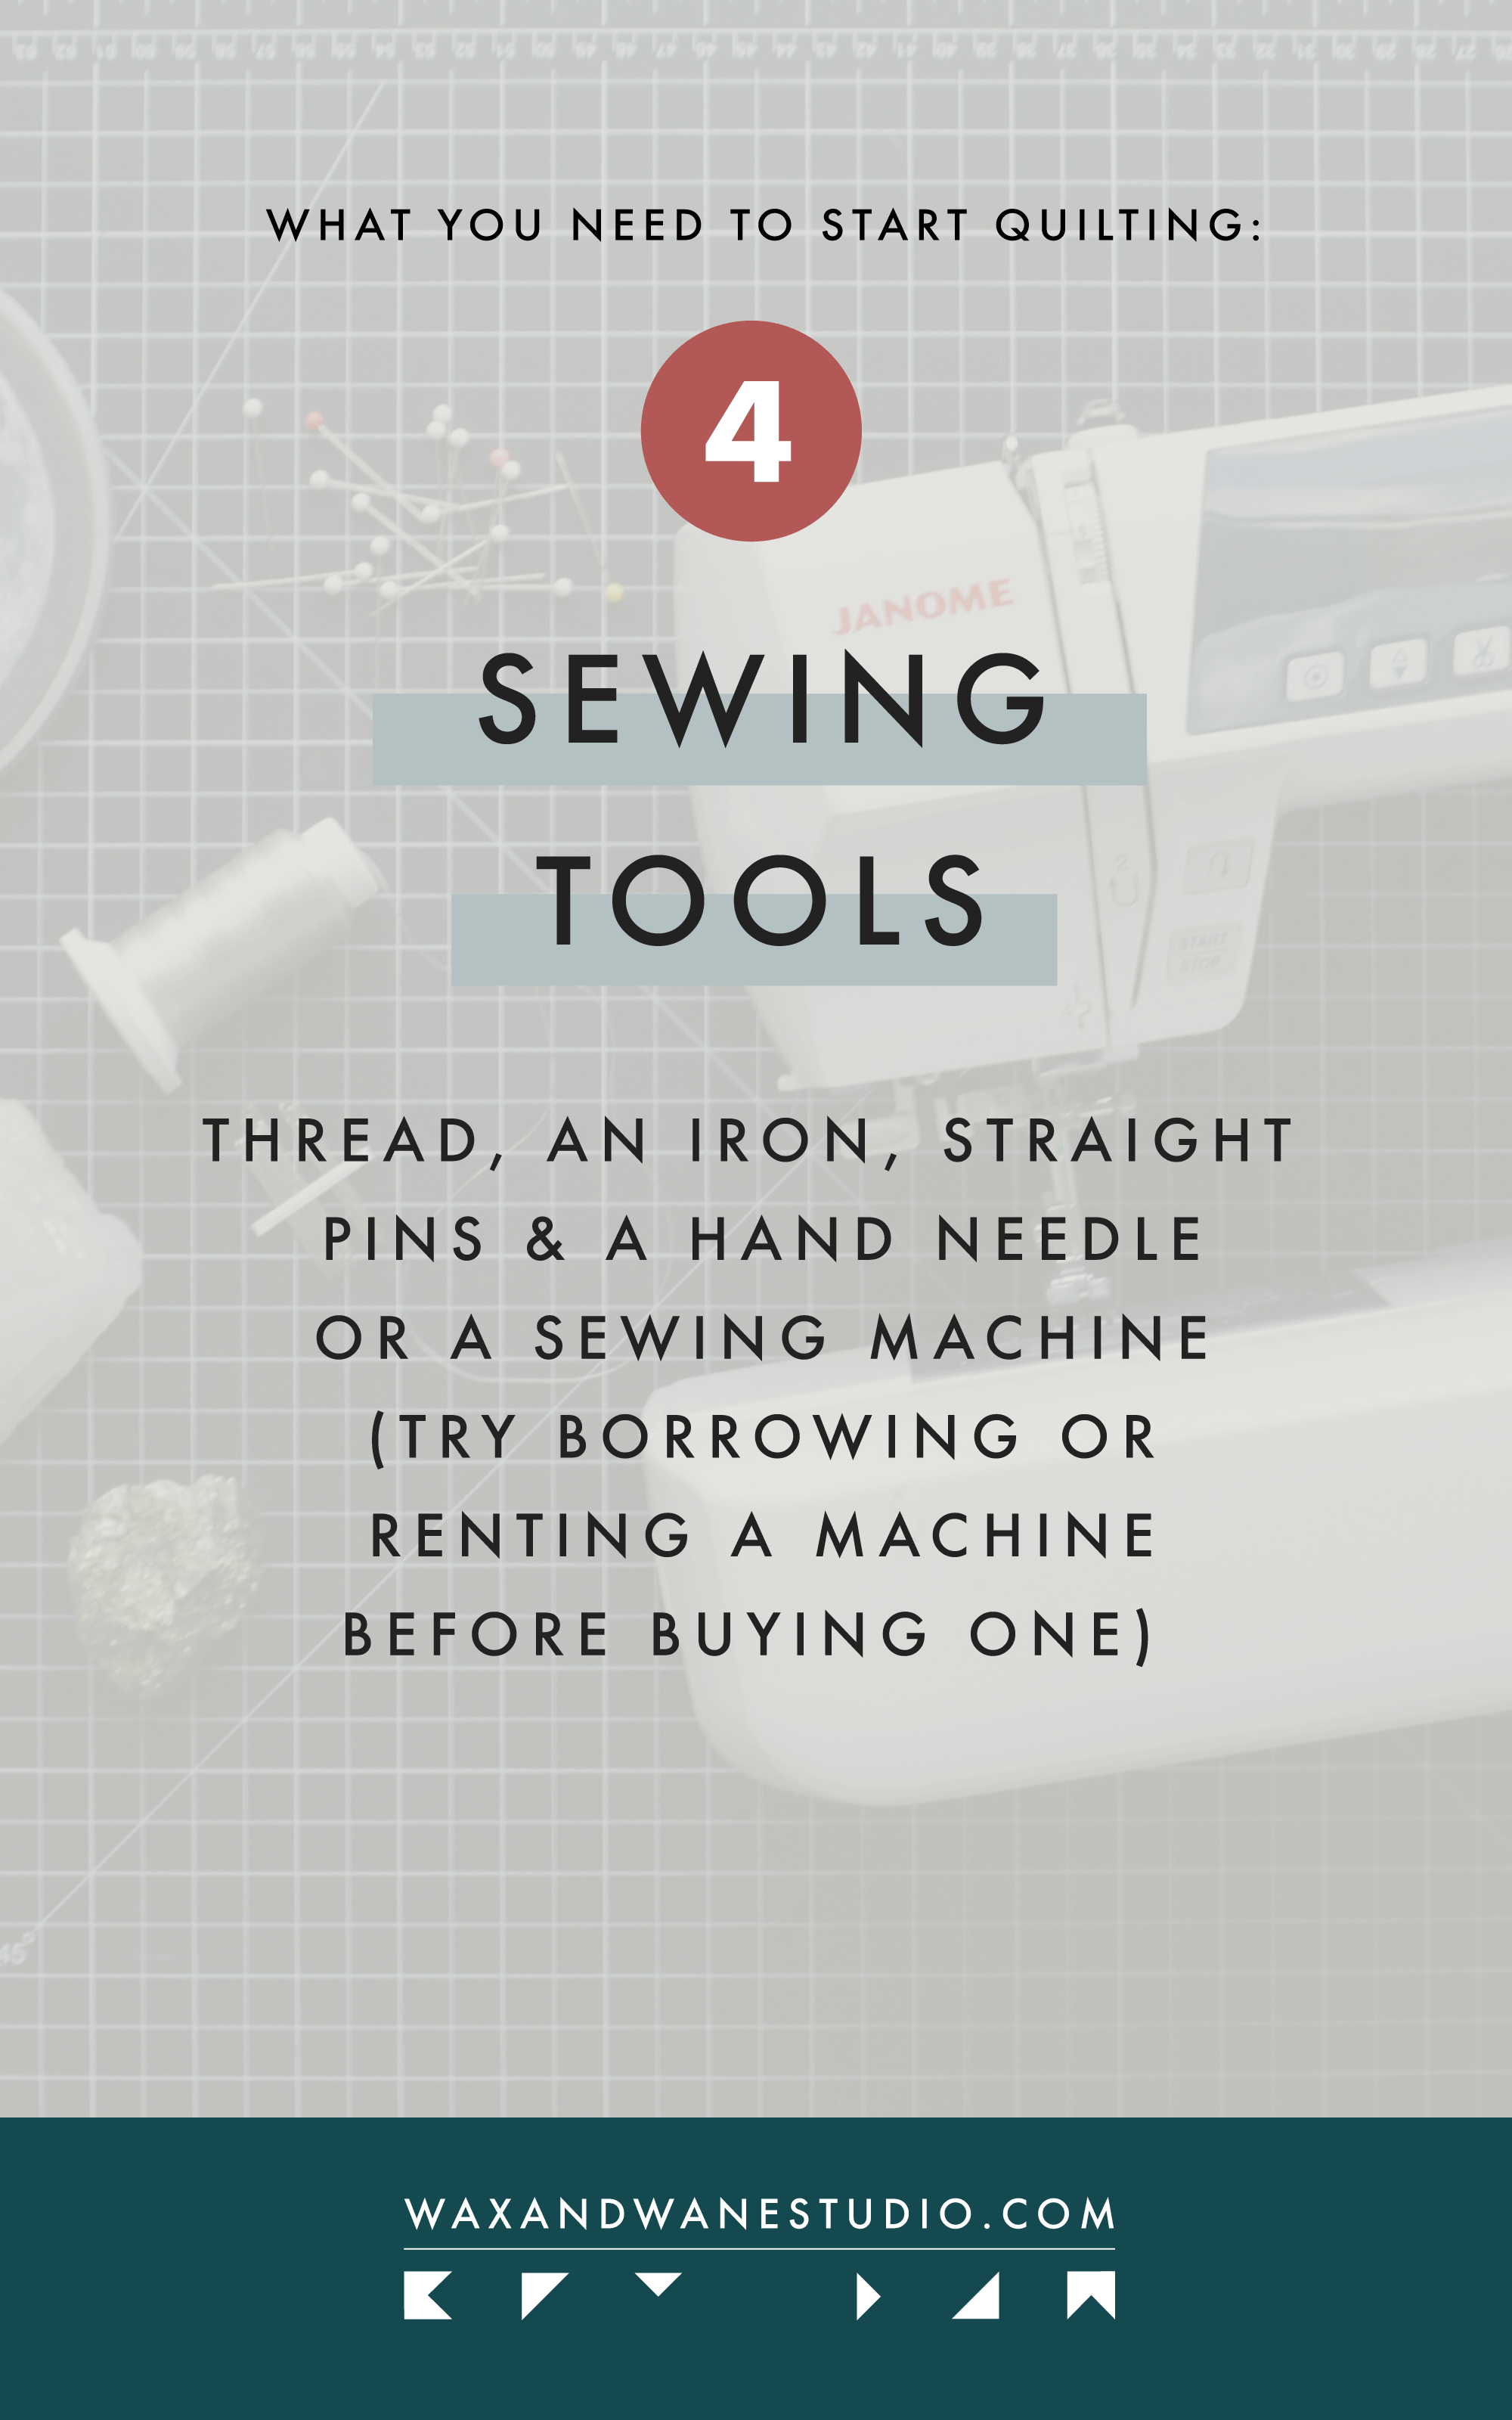
Sewing Tools
Once your fabric is measured and cut it’s time to sew it back together! When quilting is described like that it seems kind of silly but so is life, right? This part of the quilting process, called piecing, is where things get really interesting. You have two paths to choose from and they both get you to the same end goal but one path may be a lot more enjoyable for you than the other. It’s kind of a way to get to know yourself better. It’s time to chose what technique you’d like to try first; machine piecing or hand piecing. For machine piecing, you’ll need a sewing machine and for hand piecing, you’ll need a hand needle. For both techniques, you’ll need some all-purpose thread, an iron to press your seams as you go, and some straight pins to hold your pieces of fabric in place while you stitch them together.
Sewing Machine
There are so many different brands, sizes, types of sewing machines that covering them could be a blog post in itself (and maybe one day I’ll write that post) but when you’re just starting out all you need is a machine that can do the most basic function: a straight stitch. Before shopping for a machine ask around to see if someone you know has a machine and would be willing to let you borrow it. Or check your local area for places to rent a machine for a day. Then you can at least make sure you like this hobby before spending hundreds of dollars.
Hand Needle
If you’d like to forego a sewing machine and try out hand piecing all you need is a needle and thread. Needles also come in a variety of types and sizes but for beginner purposes, it’d be best to get a variety pack so you can see what’s most comfortable for your hands. You also may find that you’d like to use a thimble to protect your fingertips while hand stitching. There are hundreds of thimble styles ranging from full finger coverage to simple dots of leather for your finger pads you just need to find the option that works best for you.
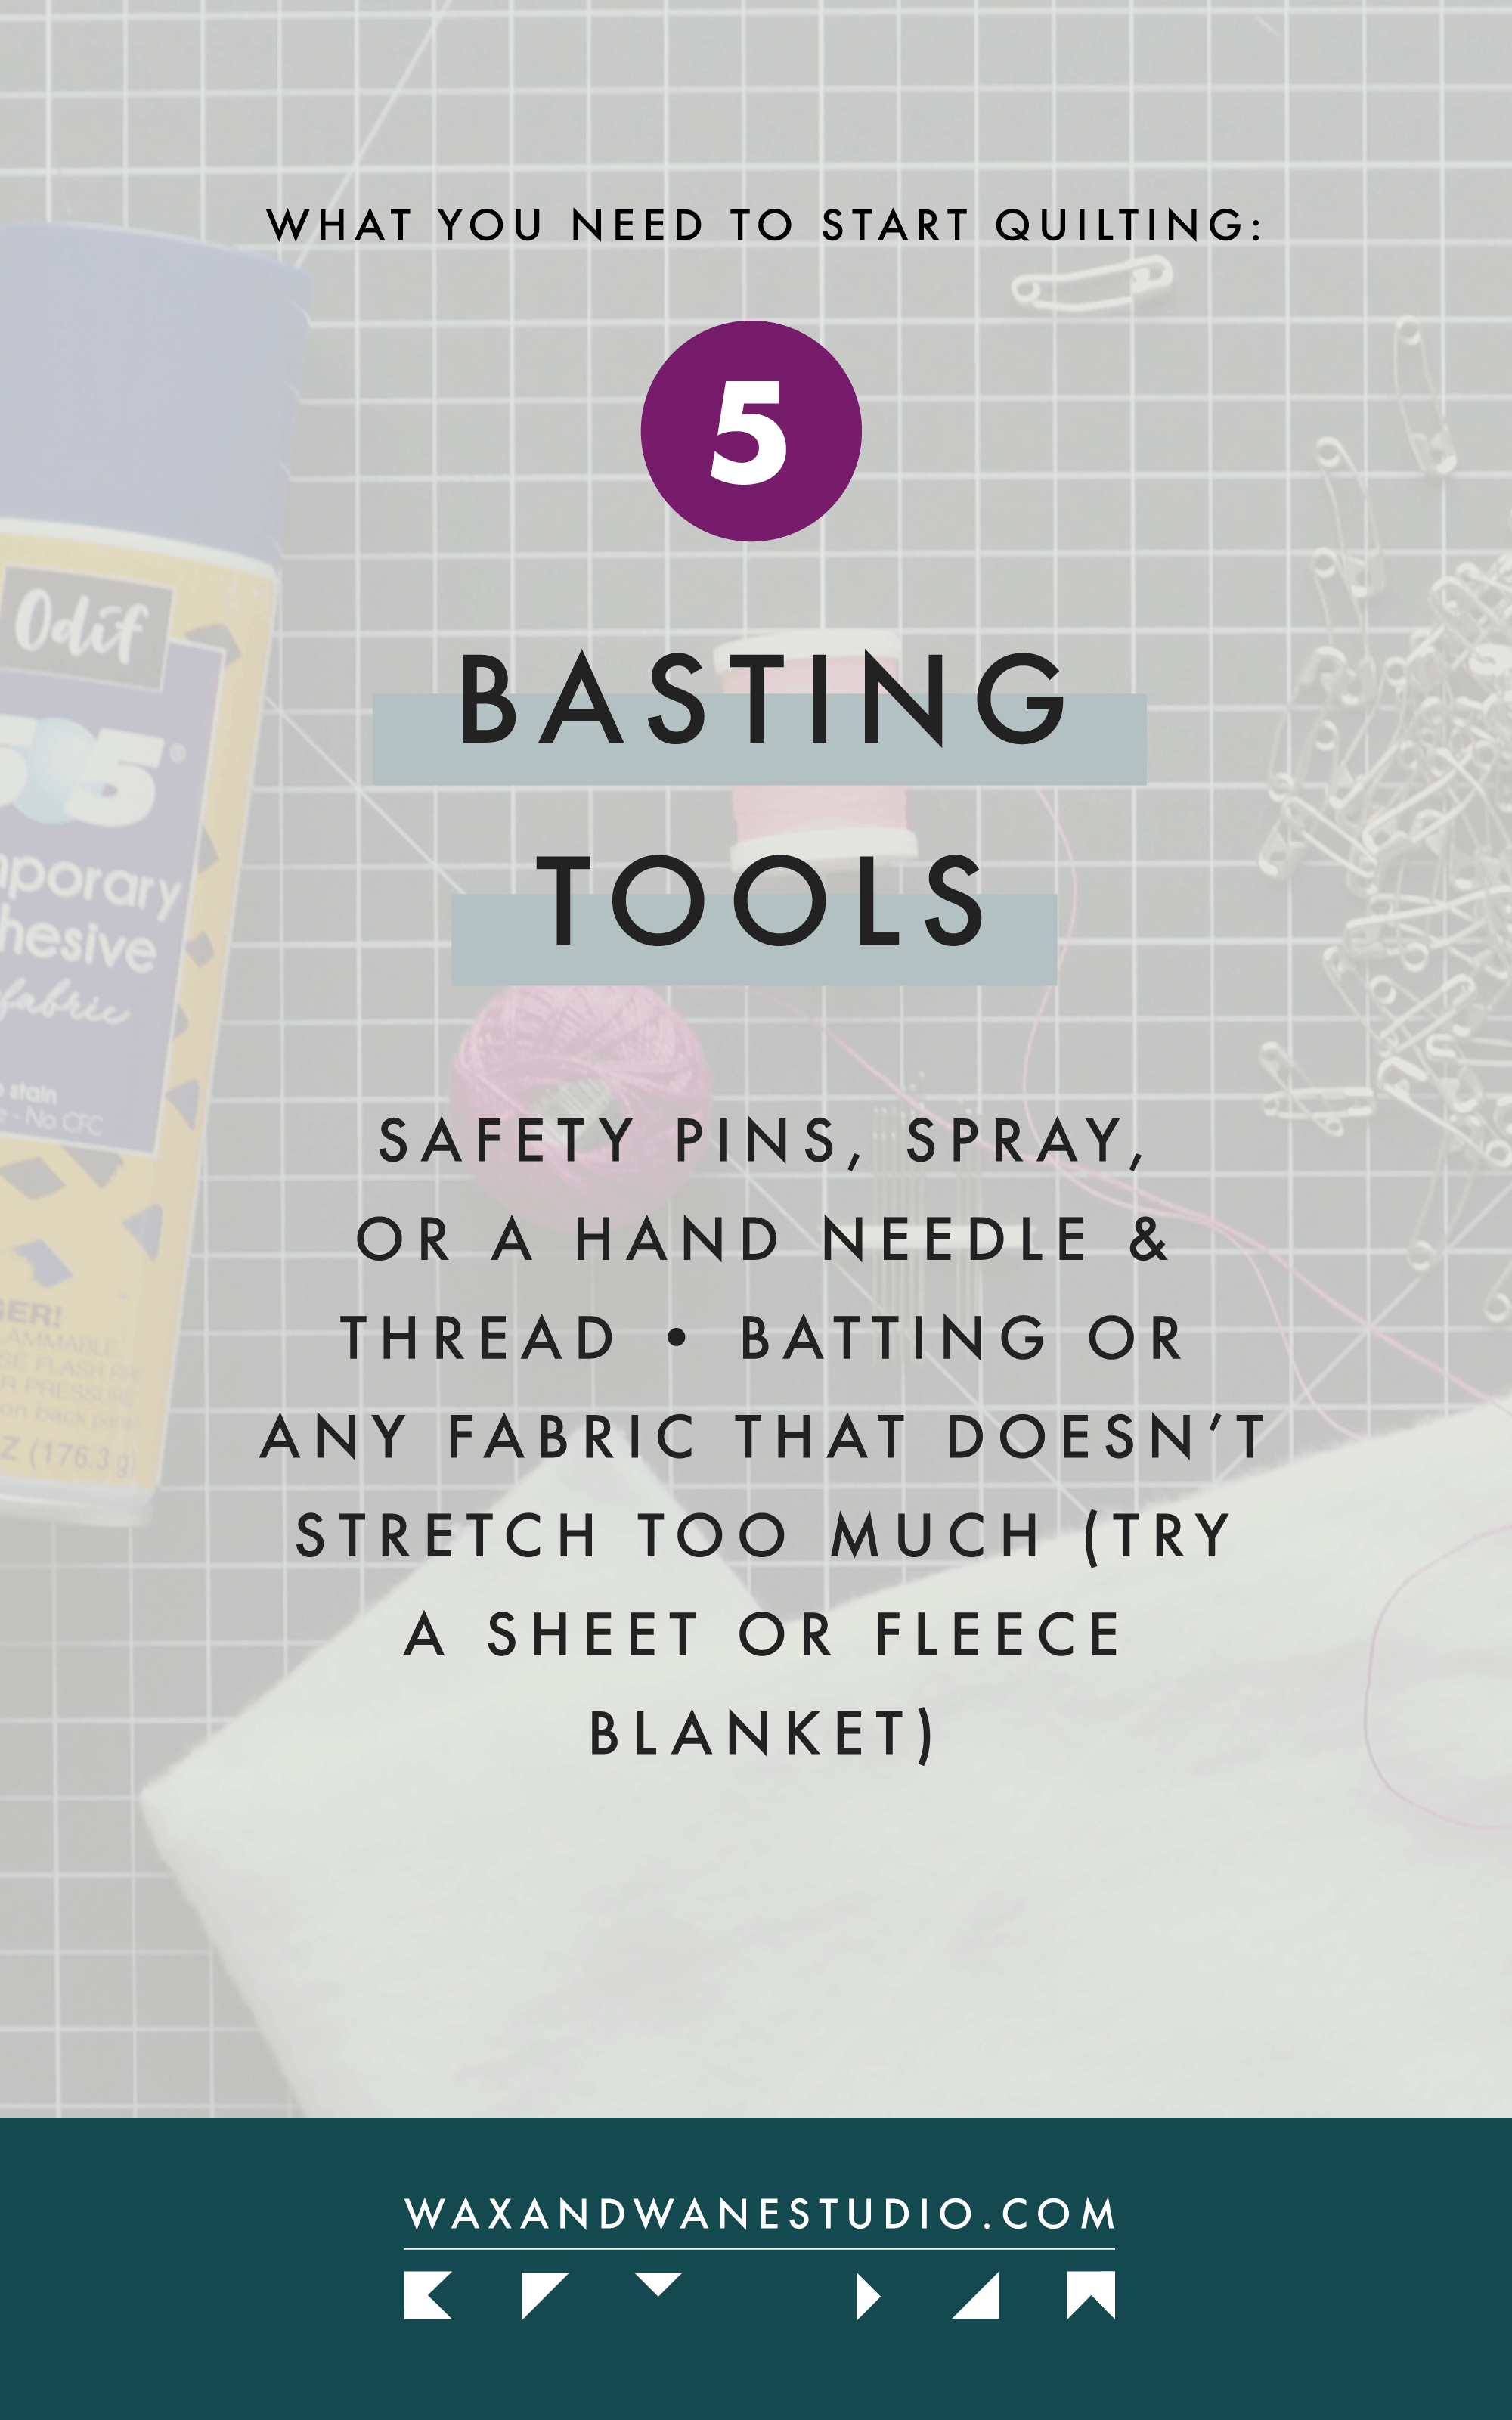
Basting Tools
The feature that defines whether something is a quilt is that it’s made up of three layers: a quilt top, some form of insulation or batting, and a backing and that those layers are stitched together. Basting is the process of temporarily tacking the layers in place so everything is where it needs to be while you stitch the layers together. There are a few different methods of basting and they each have their own list of pros and cons but all results are the same.
Batting
Regardless of which basting method you choose you will need batting. Batting is the middle layer of a quilt and adds extra warmth. Cotton, polyester, poly-cotton blends, wool, and bamboo are the most common types of batting and are found in most stores but if you want to get creative literally anything can be used in place of batting. Try using an old blanket, or, if you want a more lightweight quilt try a layer of cotton or linen fabric. If you buy a pack of batting make sure you buy the right size for your project. Batting should be about 8 to 10 inches longer and wider than your quilt top.
Safety Pins
Good old safety pins work well for basting a quilt but there are also special basting safety pins available out there. They are slightly bent, to make the process of pinning the three layers together easier. When pin basting, the rule of thumbs is to pin every four to five inches so make sure you have enough. The highlight of pin basting is that once you have the pins, you can reuse them as many times as you want. The downside is that this method is a bit time consuming and usually needs to be done on the floor. So, depending on the amount of space you have available to you it can become a strain on your body and/or a contortionist act.
Spray
Basting spray is a temporary adhesive that will dissolve once the project is quilted and washed. There are a few brands out there, some tackier than others, but Odif’s 505 Spray and Fix seems to be a crowd favorite. If you go the spray basting route you will have to continue to purchase spray as you run out, and that can definitely add up over time. To avoid this, there are recipes out there to make your own. I have never tried this, so I can’t speak to it, but making your own basting spray does save some money and lessen the environmental impact. The upside to using basting spray is that it’s a bit quicker and can more easily be done on a table or countertop.
Thread
Any kind of thread will work for thread basting especially bright colorful thread, that won’t blend in with your quilting thread of choice. Some people like to use a thicker thread, like pearl cotton or a few strands of embroidery floss but an all-purpose thread will work just as well. This method, like pin basting, can take up some time, but it can be done more easily on a table or countertop and therefore less strenuous on the body than pin basting. For this basting option, you’ll also need a hand needle.

Quilting Tools
The actual quilting step of the quilting process, the part where you stitch all three layers together, is another big decision moment. Two paths that essentially end in the same place, but are quite different. Both machine and hand quilting produce gorgeous results but you may find that you prefer spending your time doing one more than the other, or you may decide to hire someone else to do it for you.
Sewing Machine
As I mentioned above look for a way to borrow or rent a sewing machine if you’re not ready to make the monetary commitment. Ideally, if you know you’re in this craft for the long haul, then you’ll want to find yourself that machine that you can both piece and quilt with. Most, if not all, local sewing machine dealers will be able to recommend you a domestic machine based on your sewing wants and needs. The key to machine quilting is to have a walking foot attachment. This special foot helps keep the layers of fabric from bunching while it’s running through the machine. So, if you’re shopping online be sure to check for that feature and/or option. For machine quilting an all-purpose thread or thread specifically made for machine quilting is best.
Hand Needle
Hand quilting, my personal favorite part of the quilting process, can be achieved with just a needle and thread. There are endless hand needle options out there and it can be overwhelming if you don’t know what you’re looking for so I recommend starting with an assorted pack of needles. That way you can try a few options and see what works best and is most comfortable for you. While traveling the hand quilting route you can get creative with thread as the gamut of weights are available and work well in this context. My go-to thread for hand quilting is pearl cotton in size 8 but literally any kind of thread will work. If you’d like to learn more about hand quilting you can download my free course The Art of Hand Quilting here.
Your Shopping List
Quilting has a lot of steps, tools, and materials involved and, if you let it, it can become all-consuming, but please don’t let that overwhelm you. Quilting is also a fun, skill-building, thought-provoking, mind (and body) exercising craft that’s quite easy to love. If you want to dip your toes in without emptying your bank account it’s possible! Here’s the quick list of what you need: the quilting basics to get you started.
More Learn to Quilt Blog Posts