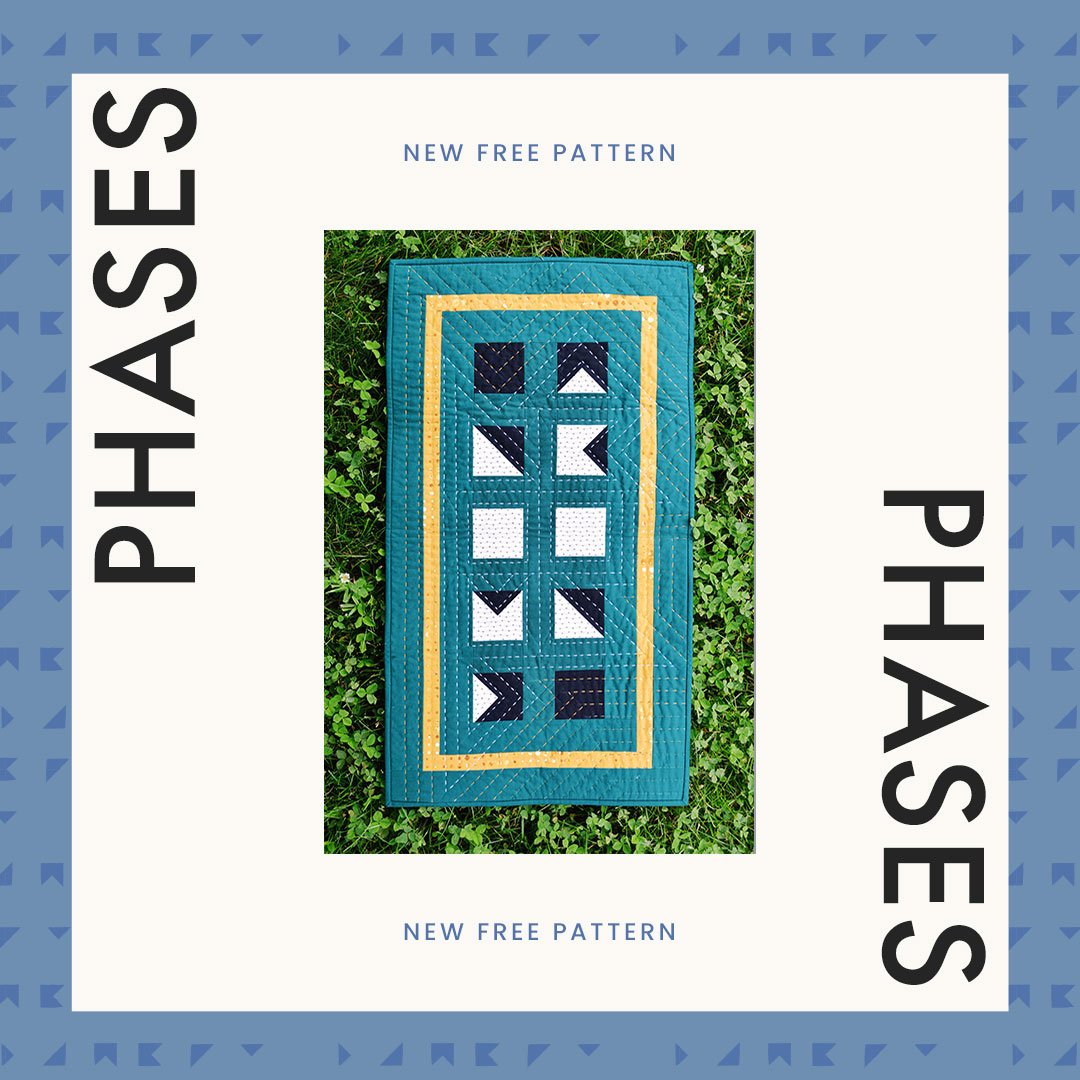
Quiltmas Table Runner

The Quiltmas Spectacular has come to an end but that doesn’t mean the fun has to stop! Your blocks are assembled, your spirits are high, and Christmas is literally days away! All that’s left is to finish up your Quiltmas Spectacular project so it can be enjoyed for the season’s festivities. Not sure what to do with your blocks? Don’t worry, I’ve got you covered. Below I’ve put together a quick tutorial on how to combine your Quiltmas blocks into a table runner so you can showcase your work as the Christmas centerpiece this year.

Haven’t heard of the Quiltmas Spectacular? Let me tell you about it! The Quiltmas Spectacular was a bit of holiday fun created by 12 quilt pattern designers (aka the Quiltmas Elves) to bring some Quiltmas cheer to all. We each created a 6” X 6” block to give throughout the first 12 days of December. The free block patterns will only be available until the end of the year so don’t hesitate, go grab yourself some copies here. Now, on to the table runner tutorial.

What you’ll need:
12 Quiltmas blocks
¾ yard of background fabric (Measurements are exact and based on 42” wide fabric. If you are using a directional print or would like more wiggle room get a bit more fabric.)
60” X 28” piece of batting
60” X 28” piece of backing fabric
⅜ yard of finishing fabric for binding or facing
Cutting Requirements for Background Fabric:
24 - 6 ½” X 2 ½”
14 - 3” X 10 ½”
2 - 10 ½” X 5 ½”
Assembly Instructions

Sew the 6 ½” X 2 ½” pieces to the top and bottom of each block, right sides together, with a ¼” seam allowance (Figure A). Press seams open.
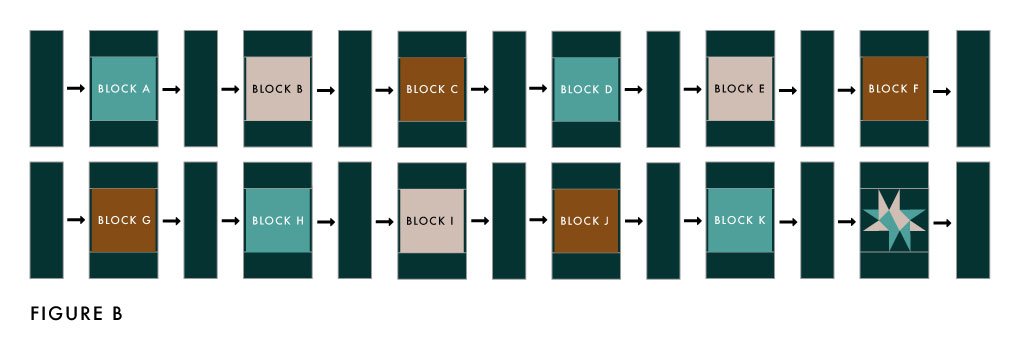
Sew the blocks into 2 rows using 3” X 10 ½” pieces between the blocks and as anchors on each row. Sew all pieces, right sides together, with a ¼” seam allowance (Figure B). Press seams open.
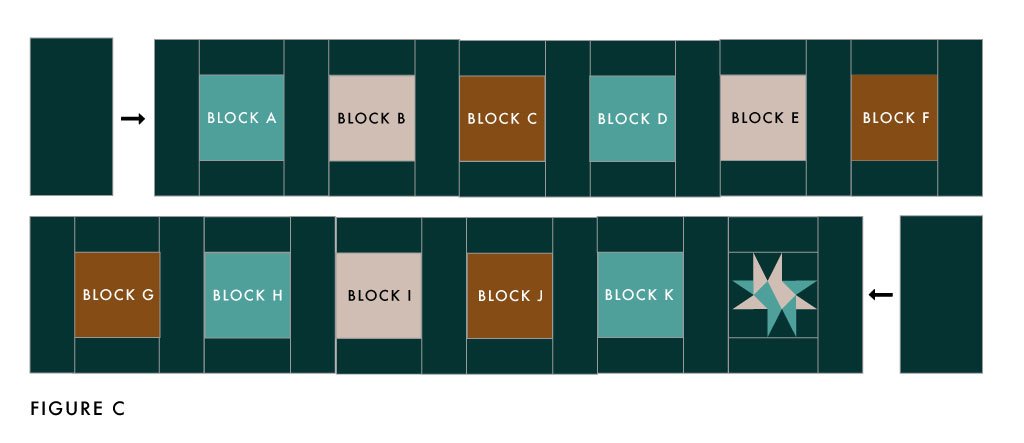
Sew one 10 ½” X 5 ½” piece to the left of the top row and one to the right of the bottom row, right sides together, with a ¼” seam allowance (Figure C). Press seams open.
Sew the rows together, right sides together, with a ¼” seam allowance (Figure D). Press seams open.
Use a ruler and rotary cutter to trim the blank blocks on an angle. Line up the ruler with the bottom left and top right corners of the block and trim (Figure E).
Prepare the backing fabric. Need help? Check out my beginner’s tutorial on how to prepare a quilt backing.
Baste and quilt as desired.
Prepare fabric for finishing. Need help? Check out my beginner’s tutorial on how to prepare the binding for a quilt.
Finish as desired and admire!


Now you can enjoy your Quiltmas project for years to come! Don’t forget to share photos of your table runner on Instagram, use the hashtag #QUILTMASSPECTACULAR and tag me @waxandwanestudio so I can see it and share it!


More Quiltmas Blog Posts


Free Quilt Patterns