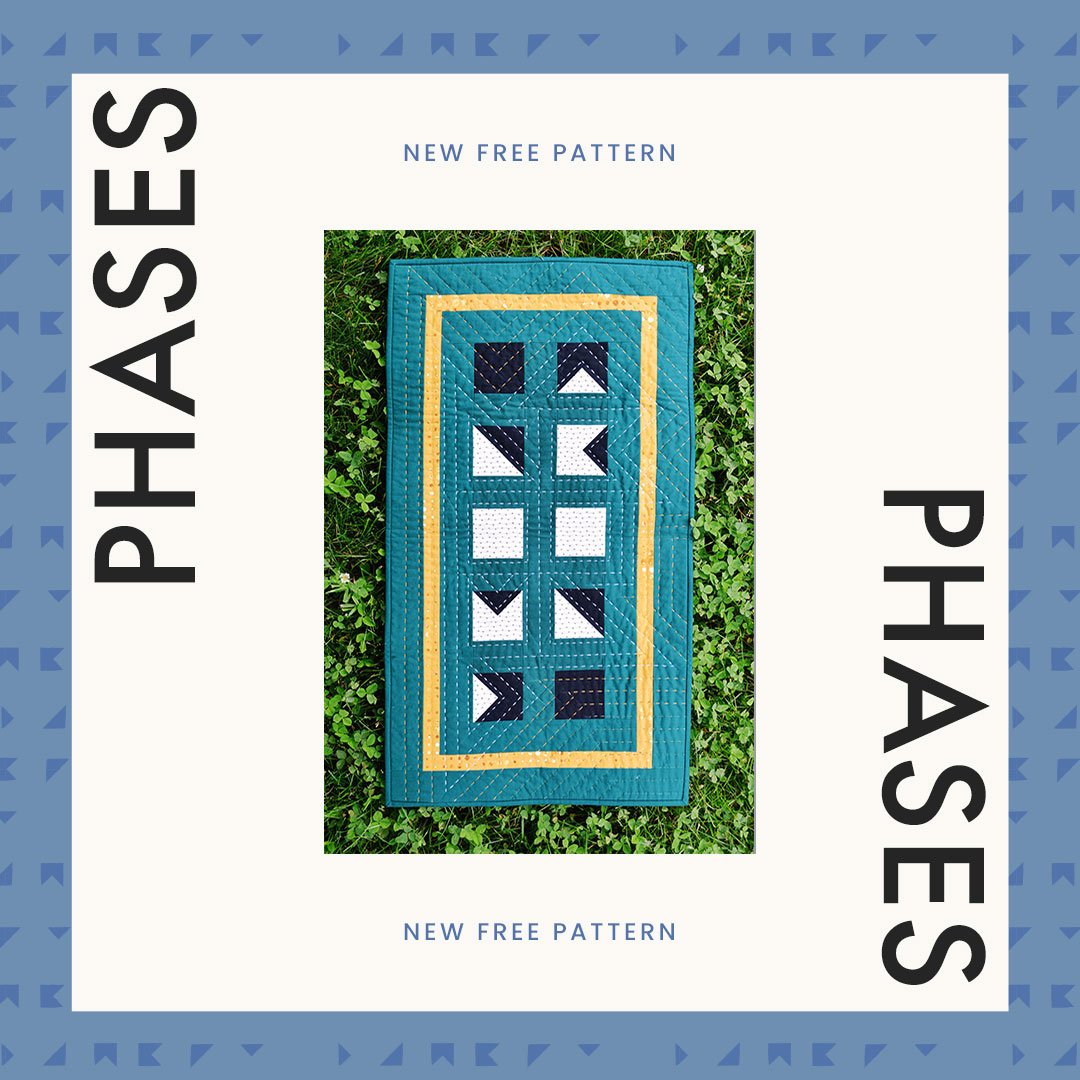
Phases Free Mini Quilt Pattern

A Bit About Phases
Phases is a free mini quilt pattern I designed a few months ago. It’s a modern, geometric, beginner-friendly quilt pattern and a fun, quick project for all sewing levels. The design is made up of simple half-square triangles and split quarter square triangles with lots of background space and a one-inch border. Like my studio name, this design was inspired by the phases of the moon. Just like the moon, life waxes and wanes with excitement, creativity, wonder, and amusement and I wanted a light-hearted project to reflect that and represent my brand.
Before designing Phases, I was in the middle of writing my first attempt at a quilt pattern for my Flint design and was getting frustrated. I was creating printable templates, charts full of fabric and cutting requirements, cutting diagrams, and instructional copy all for the first time and I was feeling like I jumped into the deep end of the pool with no floaties on. And then, on top of that, because of my inability to click that little save icon frequently enough and an unexpected thunderstorm-induced power outage, I lost my computer file and all the progress that came with it. I was ready to quit! Feeling idiotic and incompetent over my situation I needed to prove to myself that I could actually write a quilt pattern, but Flint wasn’t the way to do that. So, I decided to start on a smaller scale. Enter dreams of mini quilts, HSTs, and SQSTs, and *poof* the Phases design was conceived.

A big part of creating this design was wanting to play with the split quarter square triangle blocks. I’m finding myself a bit obsessed with them this year and I’ve actually got a few more patterns involving them coming up later this year/early next year. SQSTs are so versatile, the pattern opportunities are endless! Another aspect I kept in mind while designing this pattern was making it adaptable for multiple ratios. I wanted the design to look good in a square (for the pillow layout), a rectangle (for the wall hanging), and in a line (for the table runner). Once I set these parameters for myself I was able to quickly put the pictures from my mind to paper and compile all the needed elements to write my first quilt pattern.
Layouts And Colors
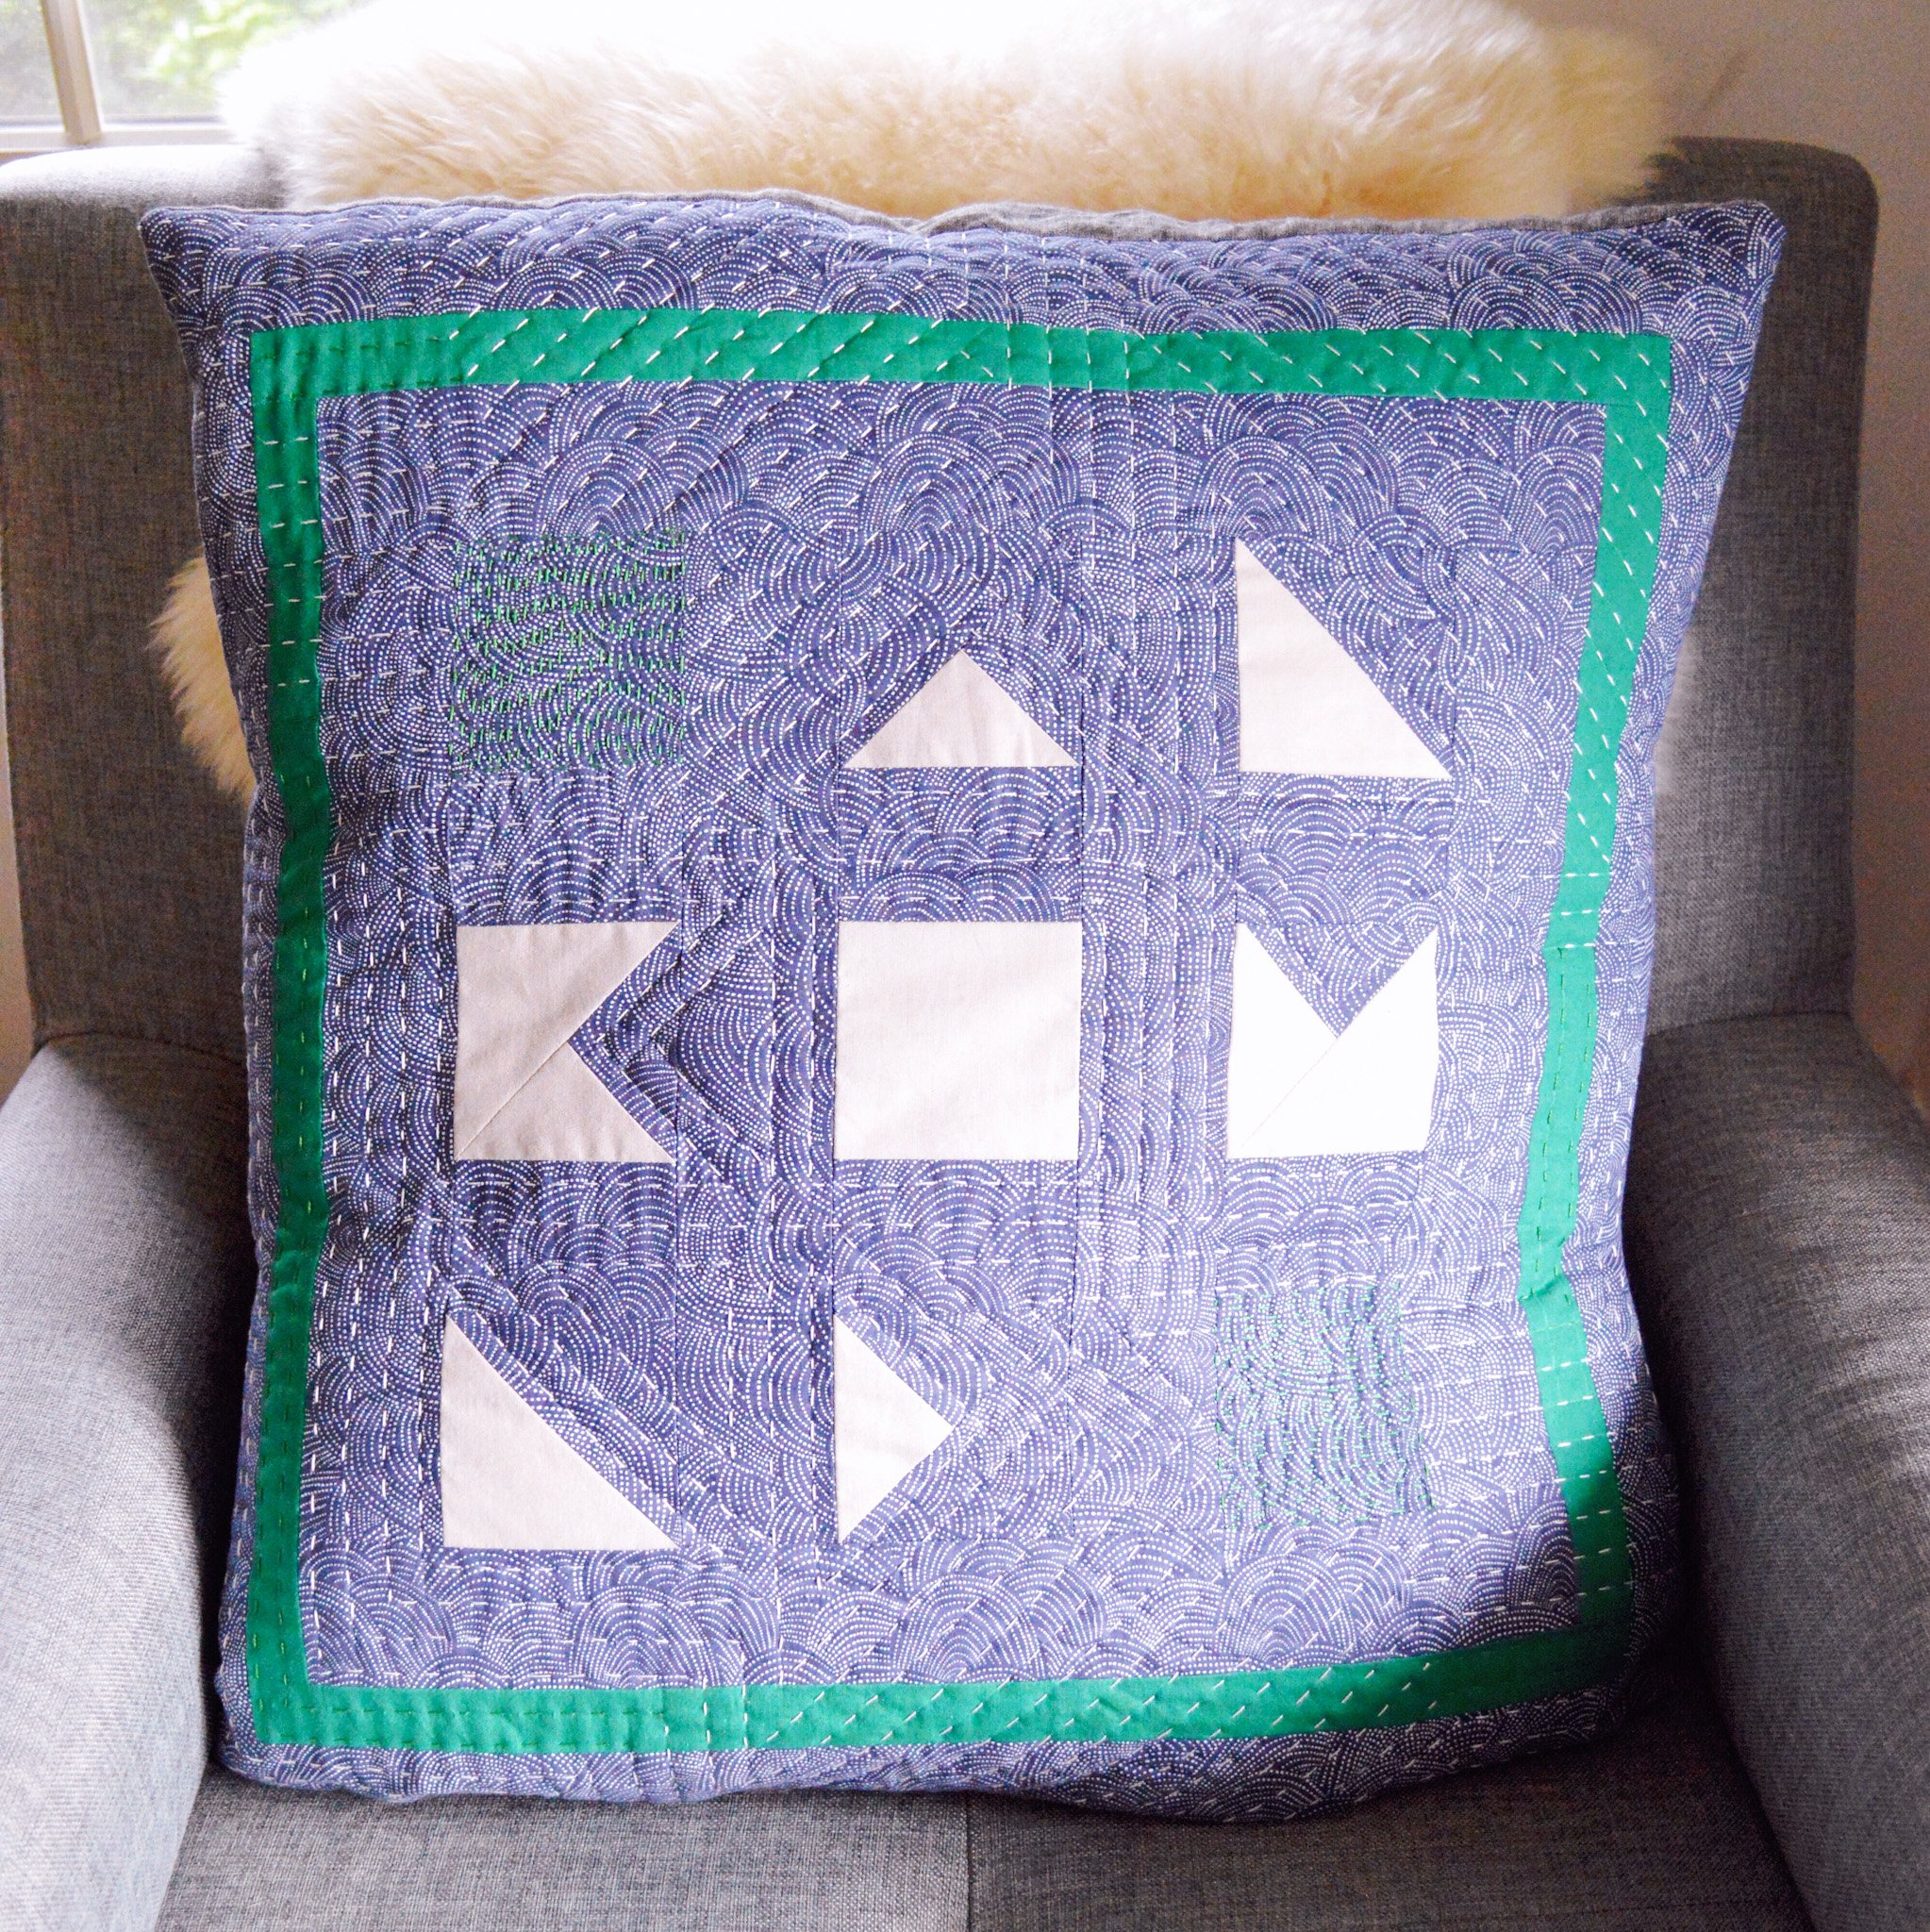
As I mentioned the Phases pattern includes requirements and instructions for three different size mini quilts; pillow, wall hanging, and table runner. I made one of each size myself in addition to the amazing bunch of friends who helped me test the pattern. When it comes to colors this pattern is pretty simple as it only uses four. One fun aspect is if you decide to simplify it even more, and only use three colors (by using the Background color in place of Color A or B), it really changes the look of the design. You can see my pillow as an example below. I’m partial to quilts with dark backgrounds and I think that aesthetic works particularly well with this design because of its moon-like appearance, but it also works well in lighter color palettes.

Phases Pillow
For my pillow, I chose to stick with blue and green as I knew it would look good with my living room decor. I used the Background color in place of Color A and chose to use some very dense straight line quilting as a placeholder for those two Color A squares. The background fabric I used is Scallop Dot in Pacifica from Dear Stella Honey Bee collection designed by Rae Ritchie. The light neutral color is one of my favorite Robert Kaufman Kona Cotton Solids called Doeskin, and the green, also a Kona Solid, is Holly. I finished this mini quilt as an envelope pillow to avoid dealing with a zipper. I’m a big fan of envelope pillows because they are easy to make and easy to remove when it comes time for washing. If you’d like to finish a mini quilt as an envelope pillow check out my How to Make an Envelope Pillow tutorial.

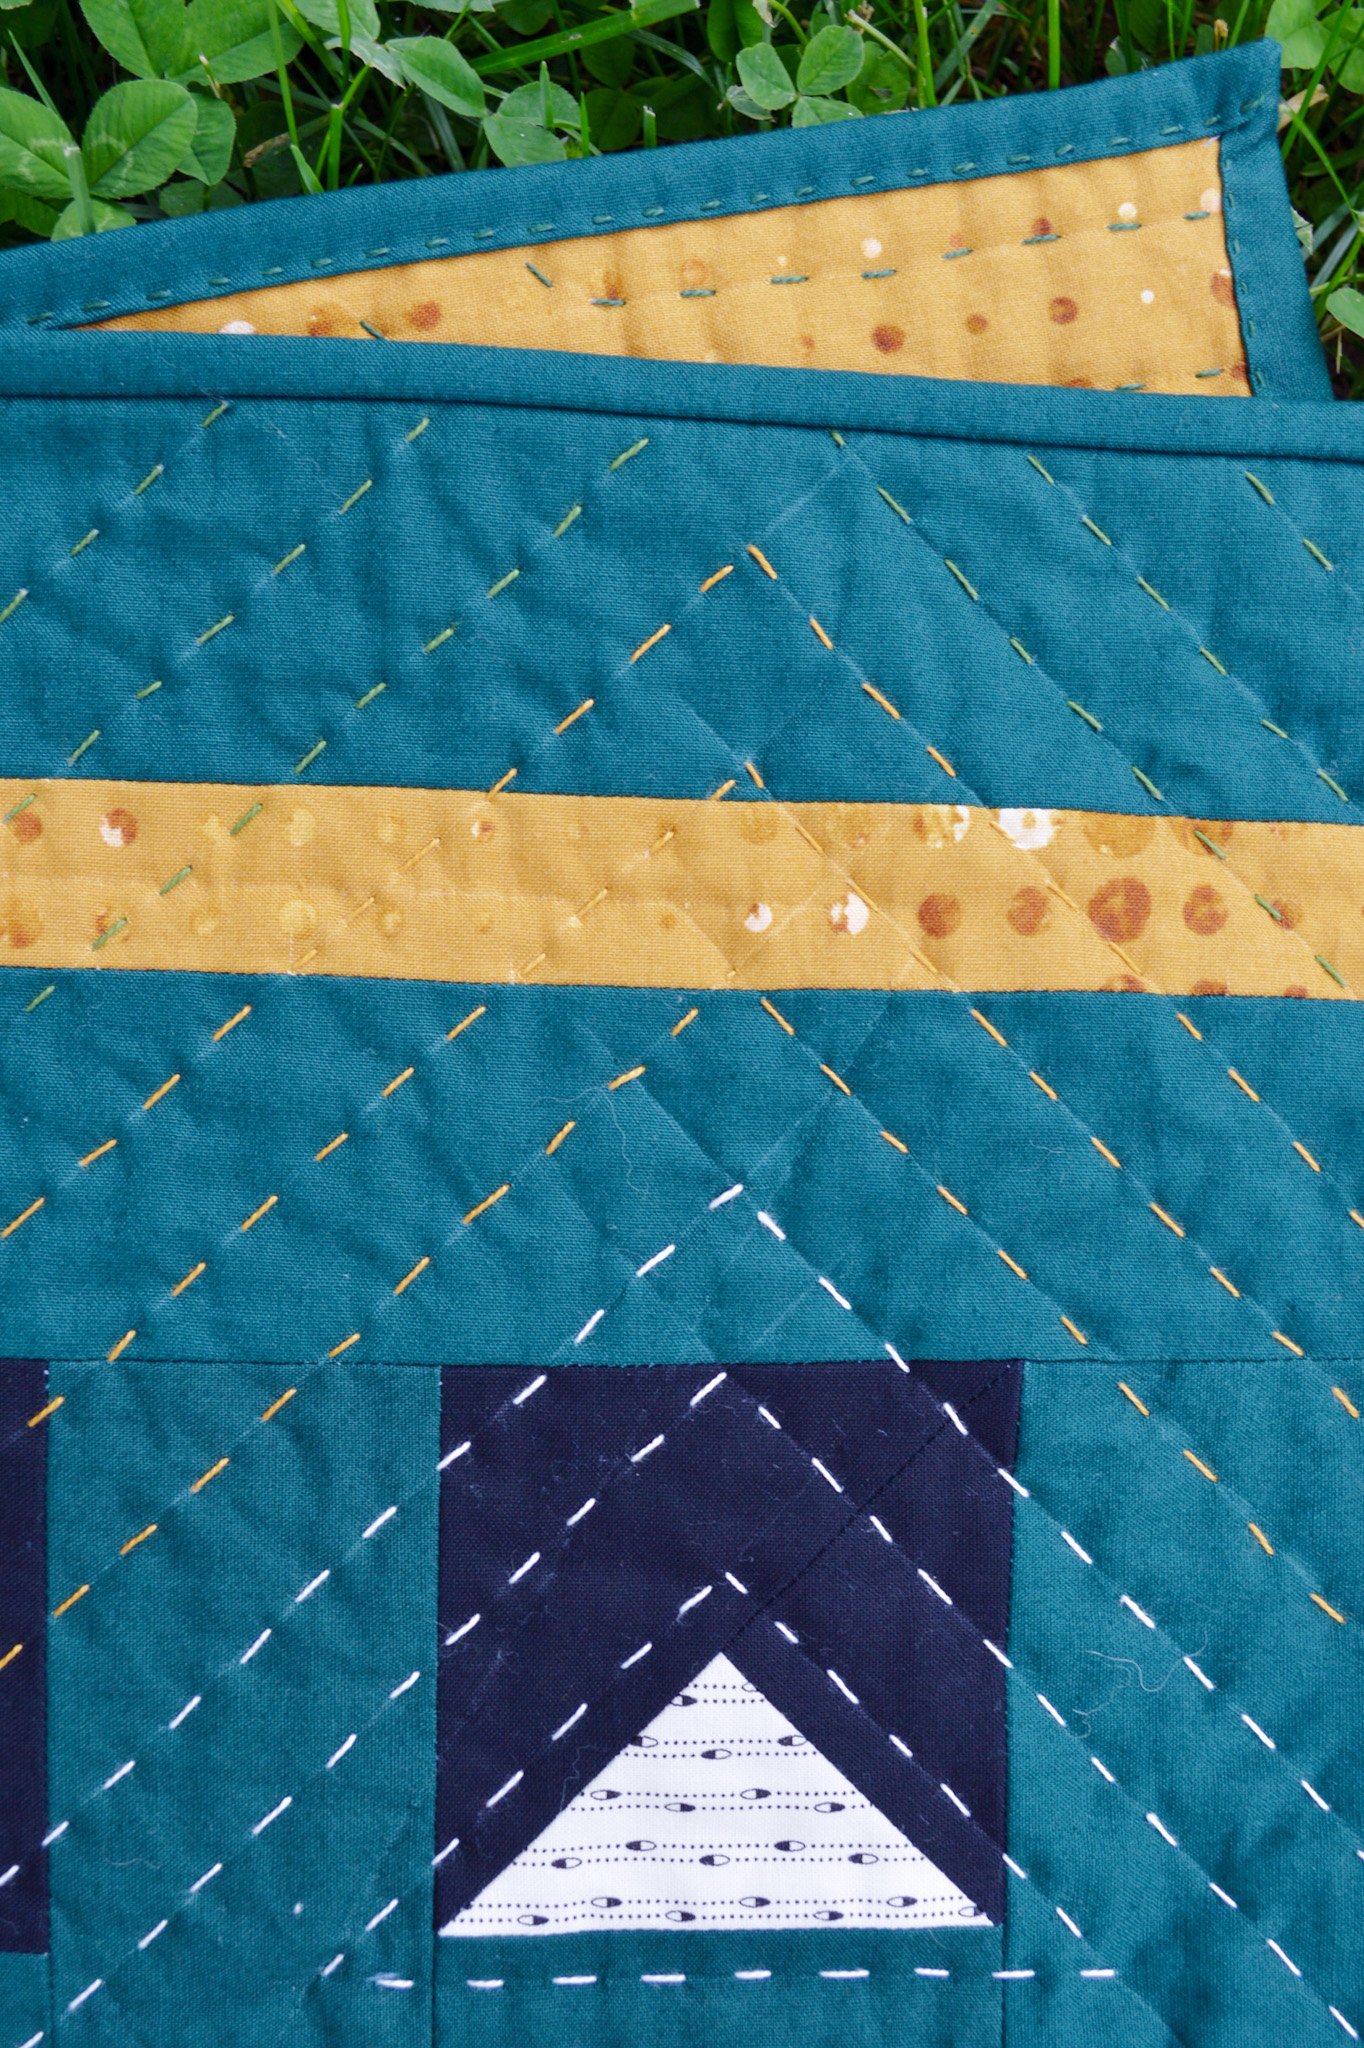
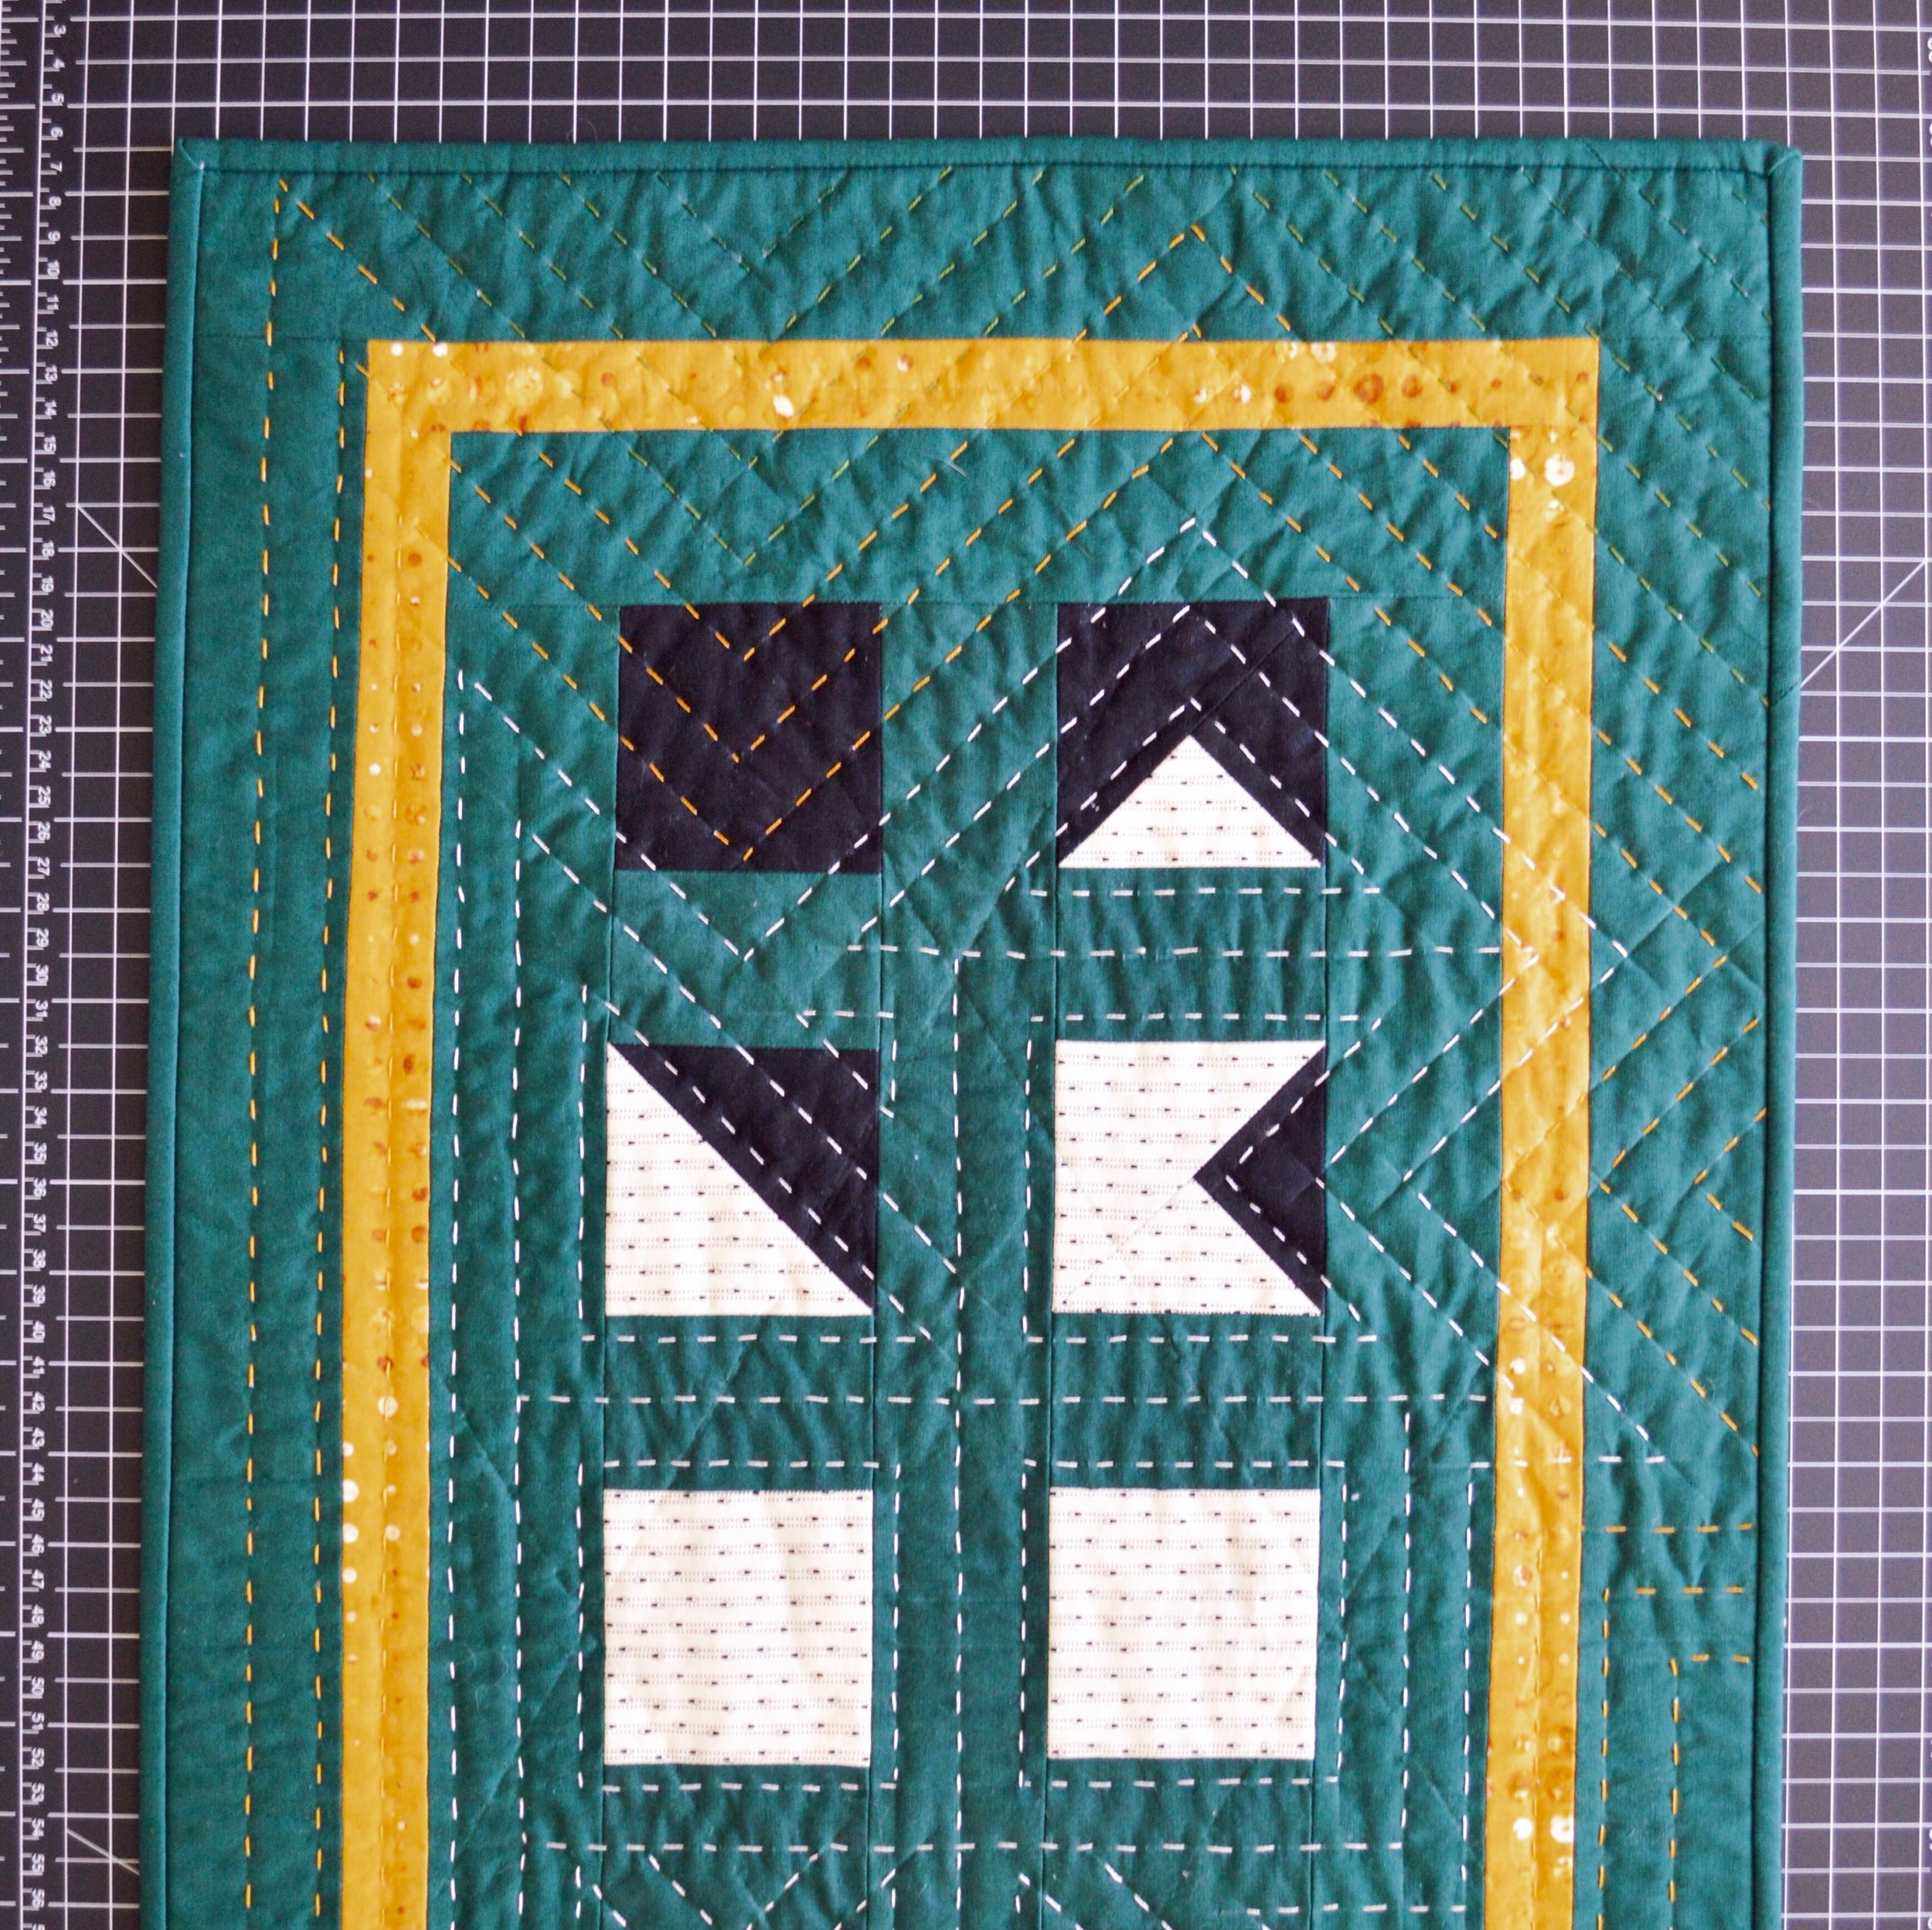
Phases Wall Hanging
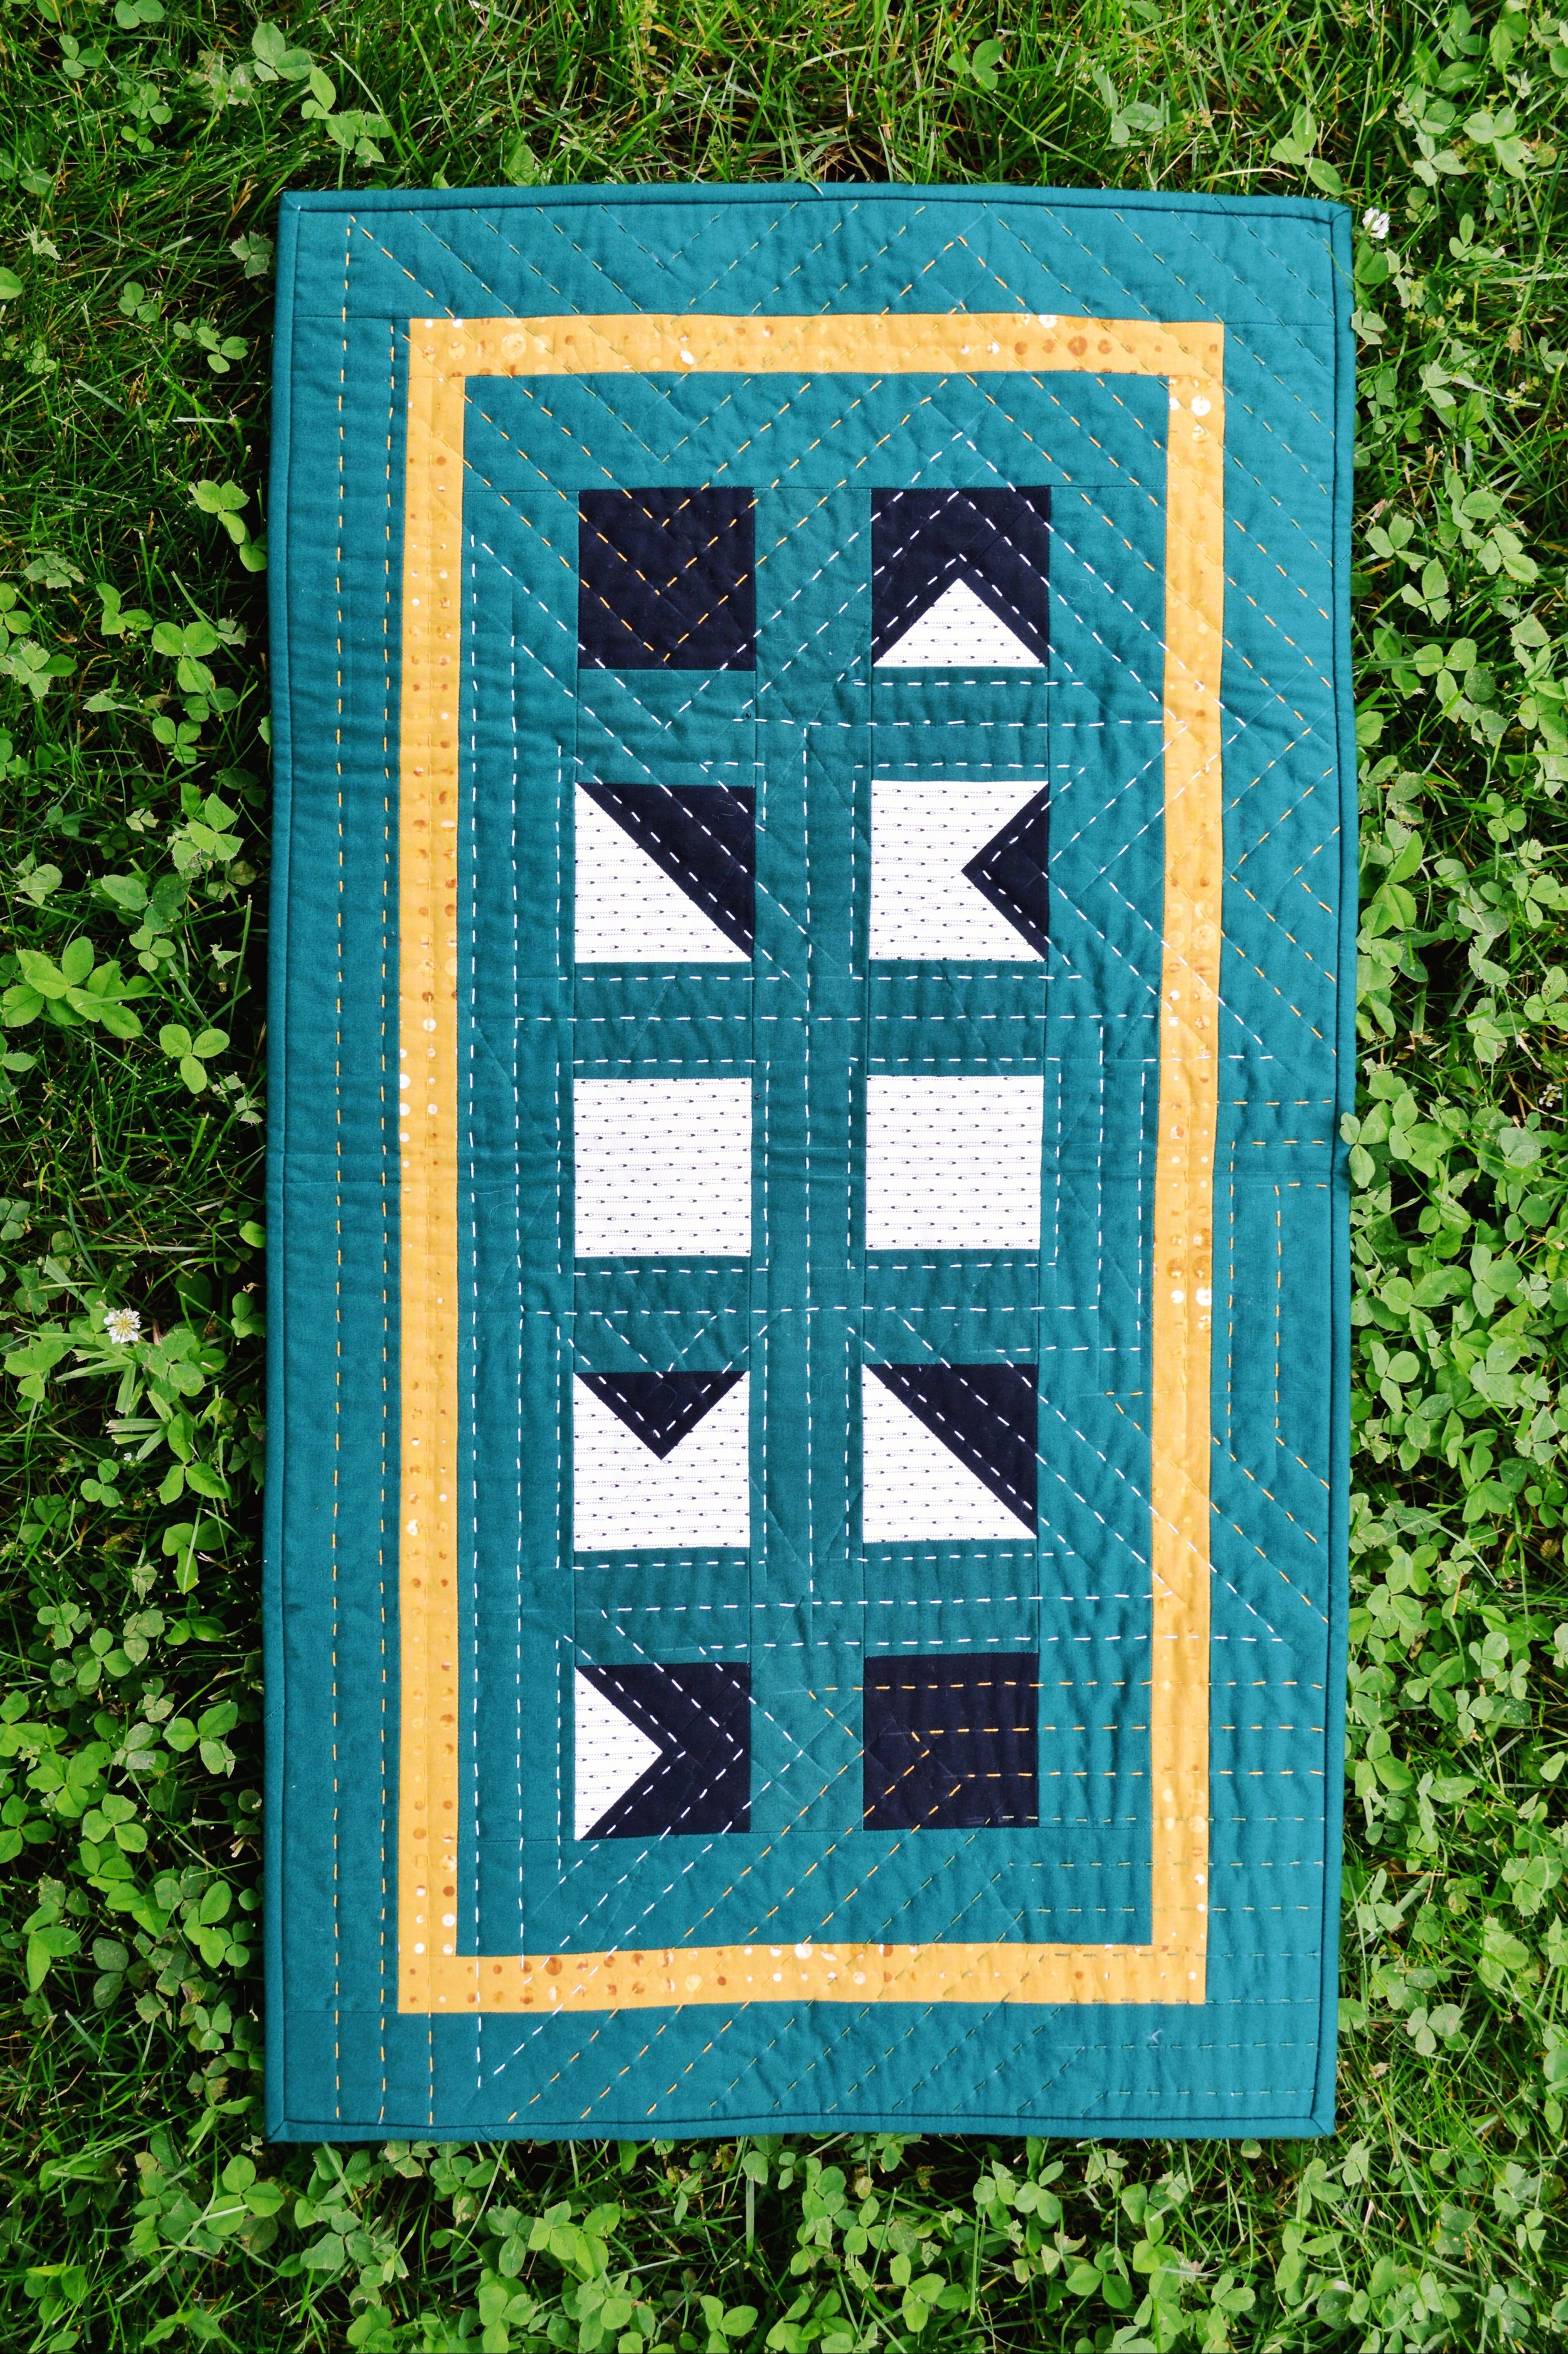
My green wall hanging is the first test I made for this pattern and I think is still my favorite. Must be that Kona Cotton Spruce background color. I’m hooked on it! The solid black is from Hobby Lobby and the white print is a gem from my stash so is a bit of a mystery. I know it’s from my favorite local shop Wooden Bridge Dry Goods and I think it’s an Andover fabric but I can’t be sure. The yellow border is Linear Gradation in Curry from RJR Fabrics Urban Artifacts collection designed by Leslie Tucker Jenison. I added corner pockets to the back of this mini quilt so a dowel or rod can be slipped in to hang it. If you’d like to learn how to do this check my How to Finish a Wall Hanging tutorial.
Phase Table Runner
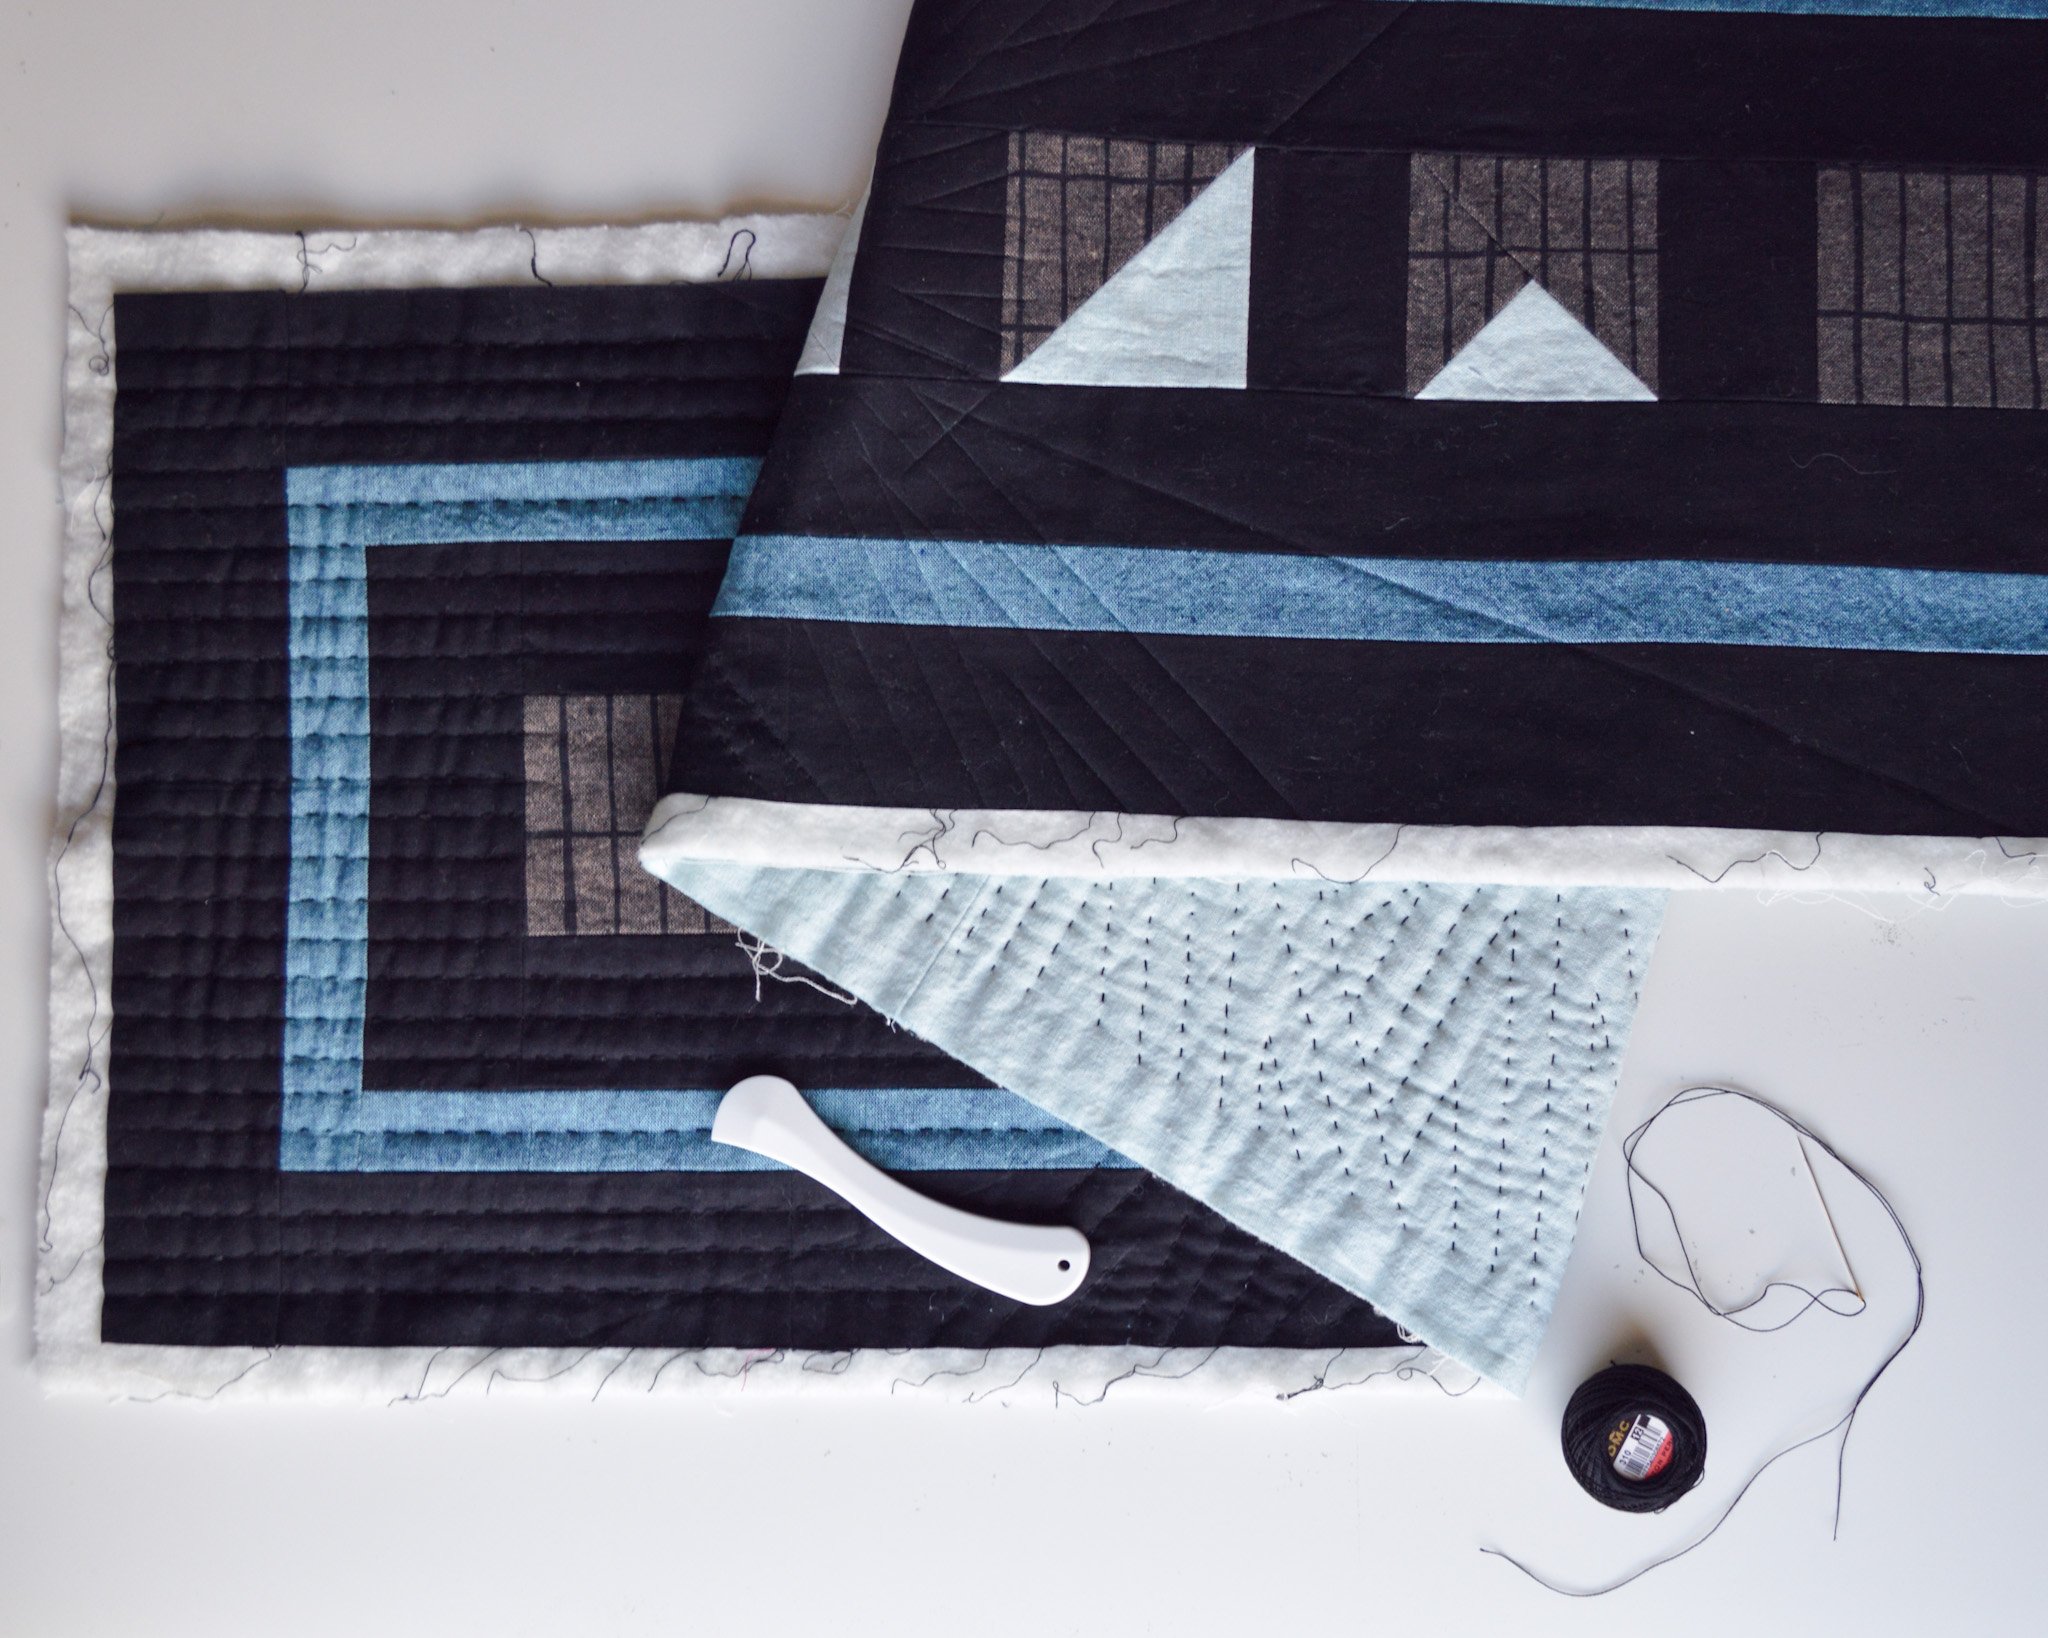
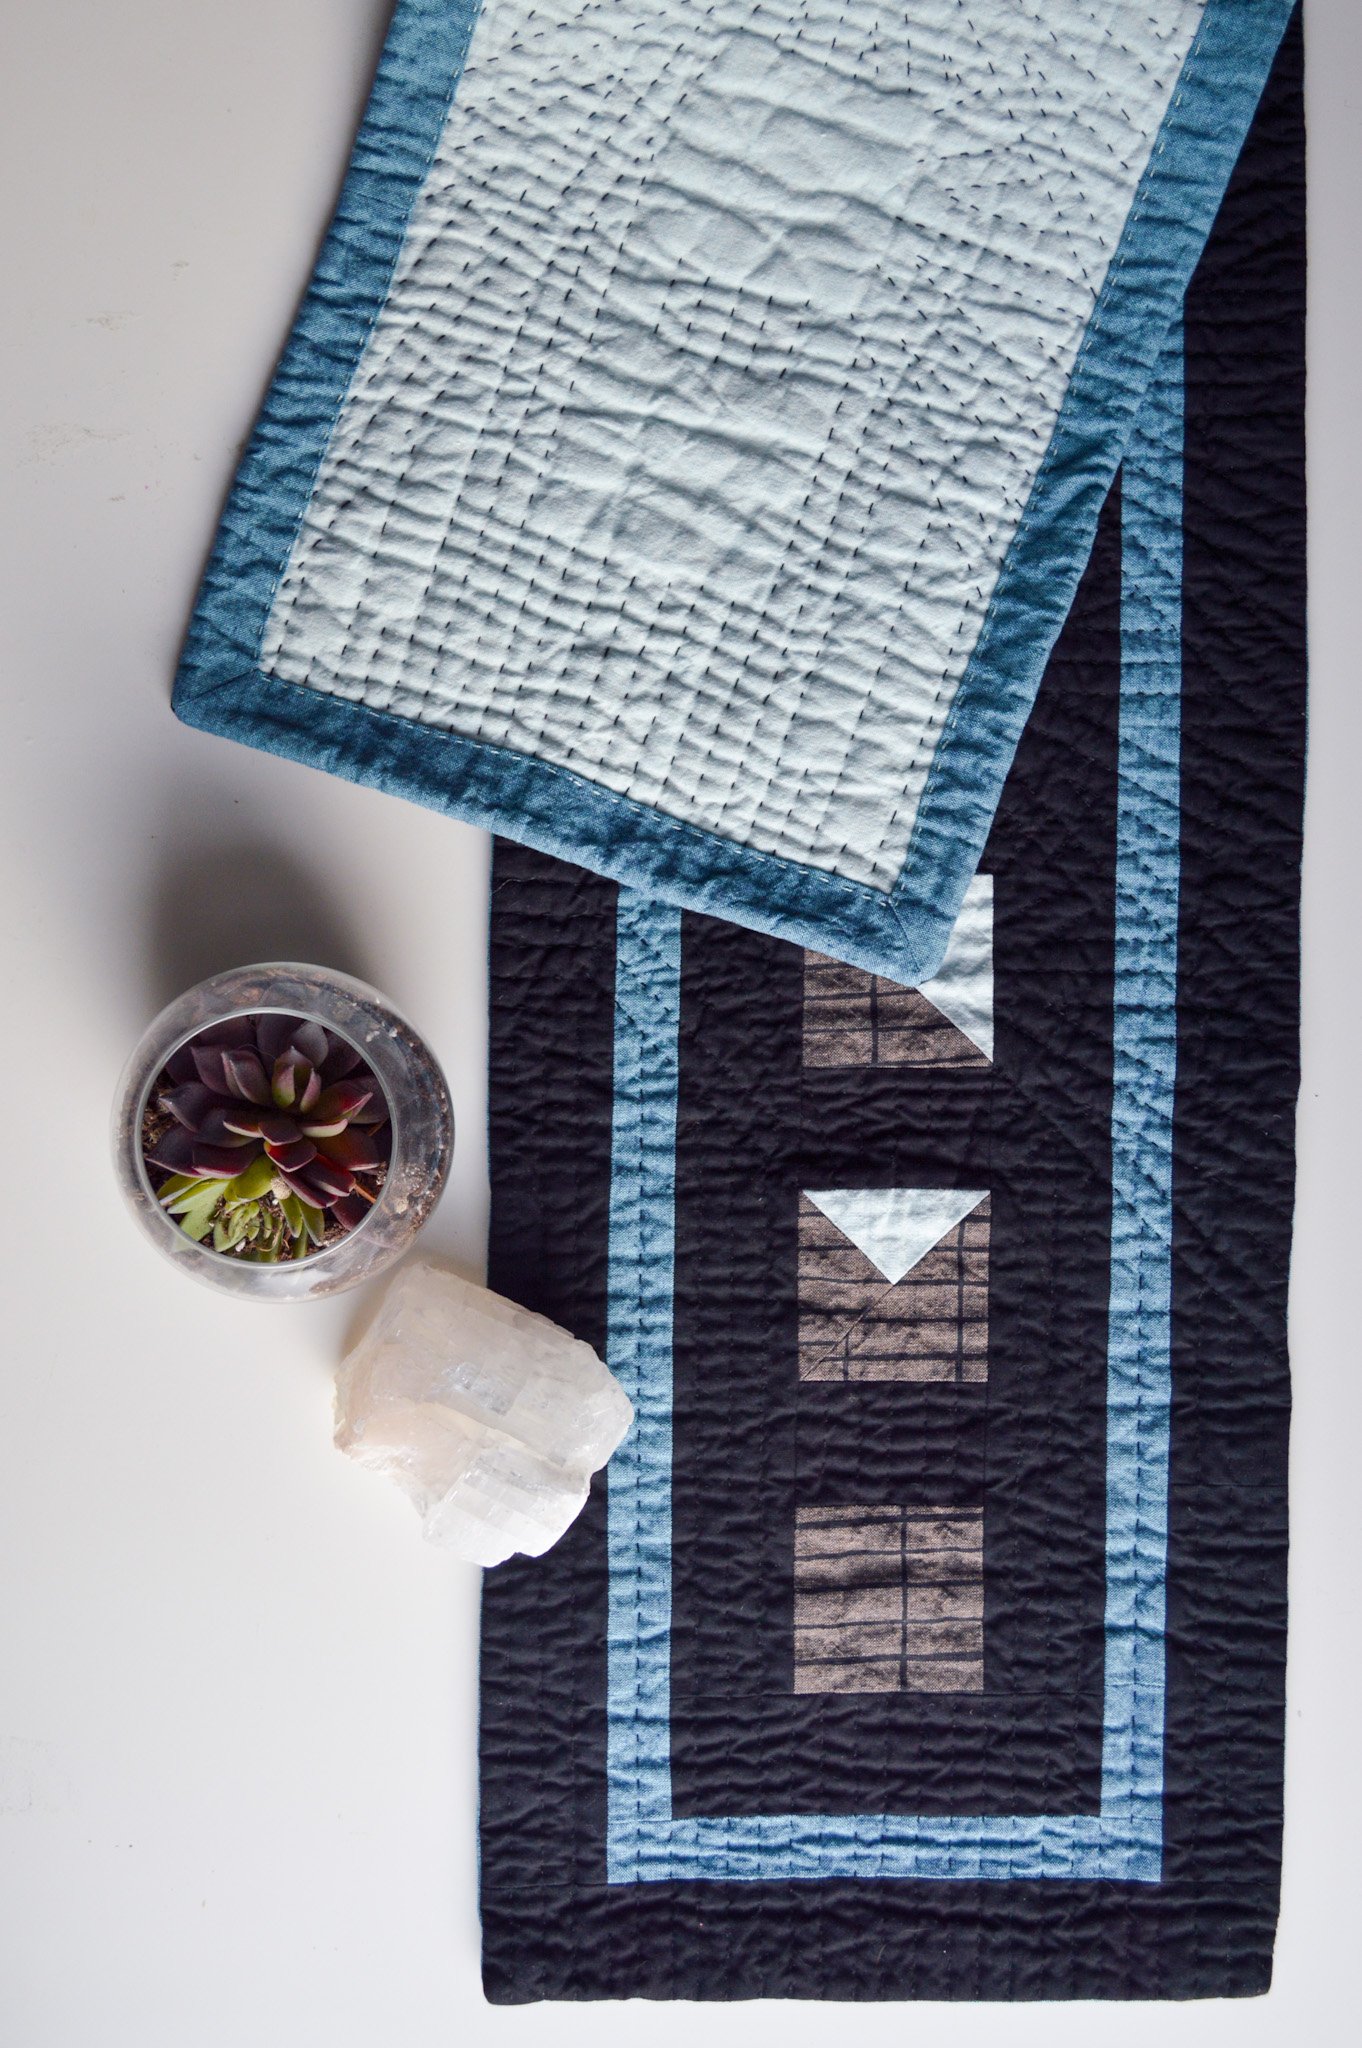
This table runner is a close second favorite (who am I kidding, they’re ALL my favorite) especially because of the color scheme. I’m a sucker for dark and moody palettes. The solid black used for the background is Kona Cotton Black, and the remaining fabrics are all Robert Kaufman Essex Linens. The solids are Aqua and Malibu from the Yarn Dyed collection and the brown print is Boxed in Espresso from the Balboa collection designed by Erin Dollar. While I stuck to straight-line, geometric quilting, for all three projects, I went a slightly different direction with this table runner. For both the pillow and wall hanging my quilting lines echo the shapes created by the blocks and their layout. The quilting lines on the table runner radiate out of the lighter sections of the blocks, kind of like moon rays. This quilting design was a bit trickier in the planning stage but went quite quickly once I finally made up my mind. The other quilting difference in the table runner is that I used DMC’s Pearl Cotton size 12 instead of size 8 (which is my usual choice and what I used on the wall hanging and pillow). It gives this piece a nice texture and I really like how it turned out but size 8 is still my favorite. I just enjoy working with it more! To finish it off I chose to face this mini quilt instead of bind it because I love how flat a faced quilt lays.

Make Your Own!
If this novel of a post was enough to convince you to make your own Phases quilt you can get your free copy here by signing up for my newsletter. The downloadable PDF includes requirements, directions, and instructions for a pillow (23” X 23”), wall hanging (18” X 33”), and table runner (13” X 53”) sized quilt tops as well as links to tutorials to help you finish your quilt. If you do make your own version of this quilt I’d love to see it! Please be sure to tag your photos with #phasesquilt and @waxandwanestudio when sharing on Instagram or Facebook. Or send me an email at anna@waxandwanestudio.com! I’d love to hear from you!